
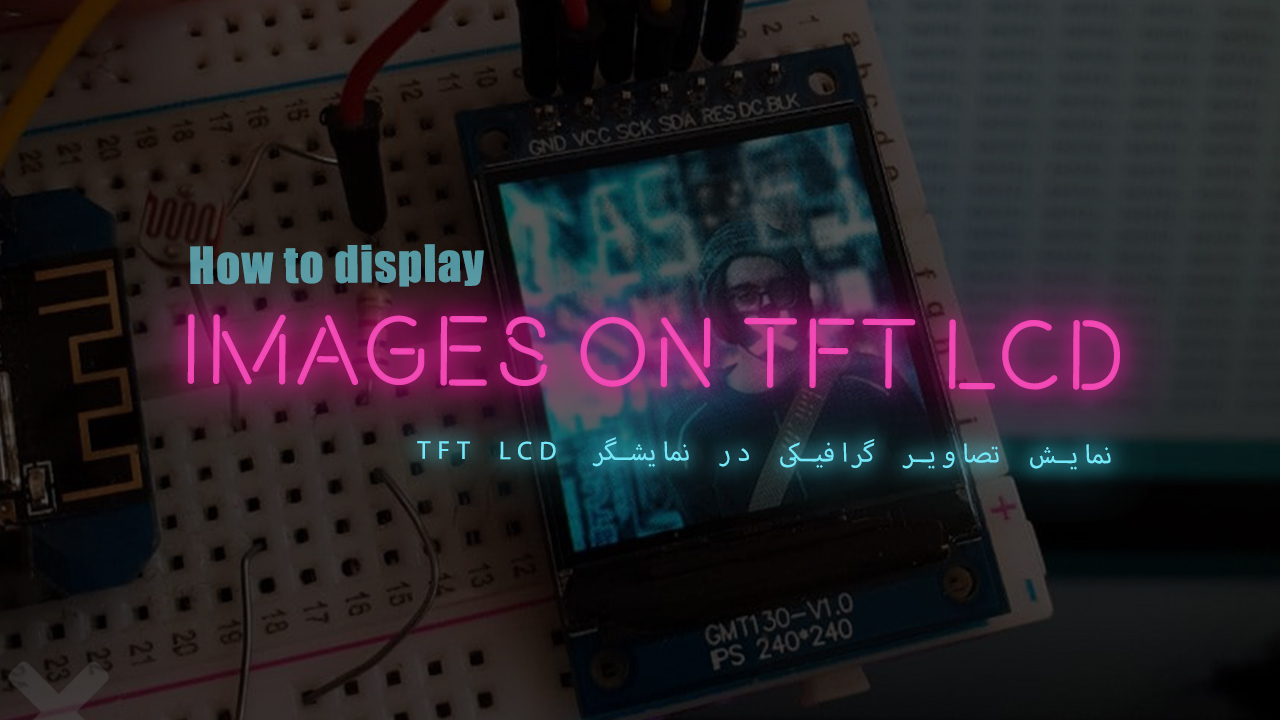
You may have thought about displaying an image type on your TFT screen, but in these scenarios the problem is that the source of the image being loaded by our microcontroller and displayed on TFT LCDs must be some kind of memory card. So that the information can be read by an SD card reader to be analyzed in our micro and finally displayed. These cases will cause additional costs and complicate the steps, as well as the dependence of the circuit on the module and information beyond our reach, so in this tutorial we intend to convert these images into comprehensible code for micro Show them or so-called images as Bitmap. Visit CiferTech for more tutorials, and be sure to follow my Instagram page to support me. ^-^
Bitmap
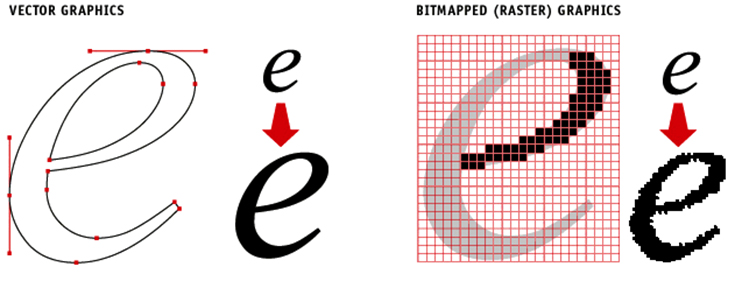
bitmap describes a type of image that users encounter many times without realizing it. A bitmap is a grid in which each individual square contains a pixel that contains color information. The main characteristics are the number of pixels or squares of the network and the amount of information in each square of the network, which are also called pixels. When you split an image into a grid of thousands of squares, you have a Bitmap. Each square in that grid holds a bit of color data and shows color data based on that. Like a color page to numbers, an assignment key links the data of each point to a color. Finally, it provides a realistic map that tells you what the image should look like after you put it together and how you see it. BMPs are bulky, complete files that cannot be compressed. Other formats, such as GIF, JPEG, and PNG, use compression algorithms that make downloading and uploading files faster over the Internet, making them easier to work with online projects or designs.
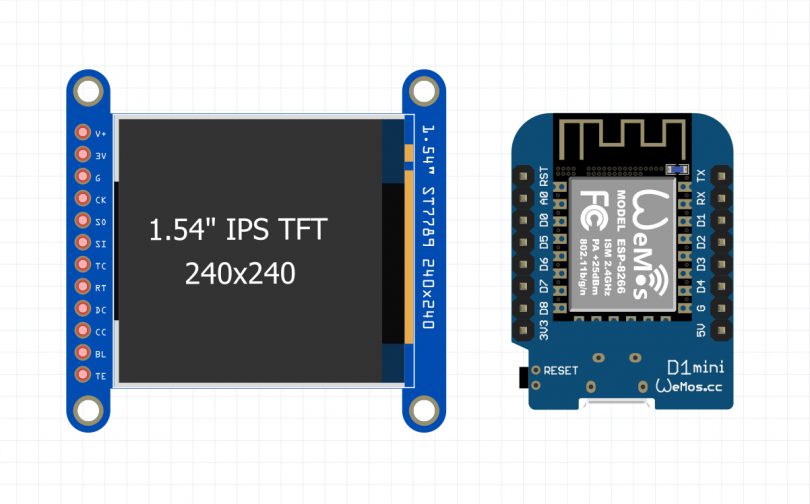
LCD 240×240 TFT
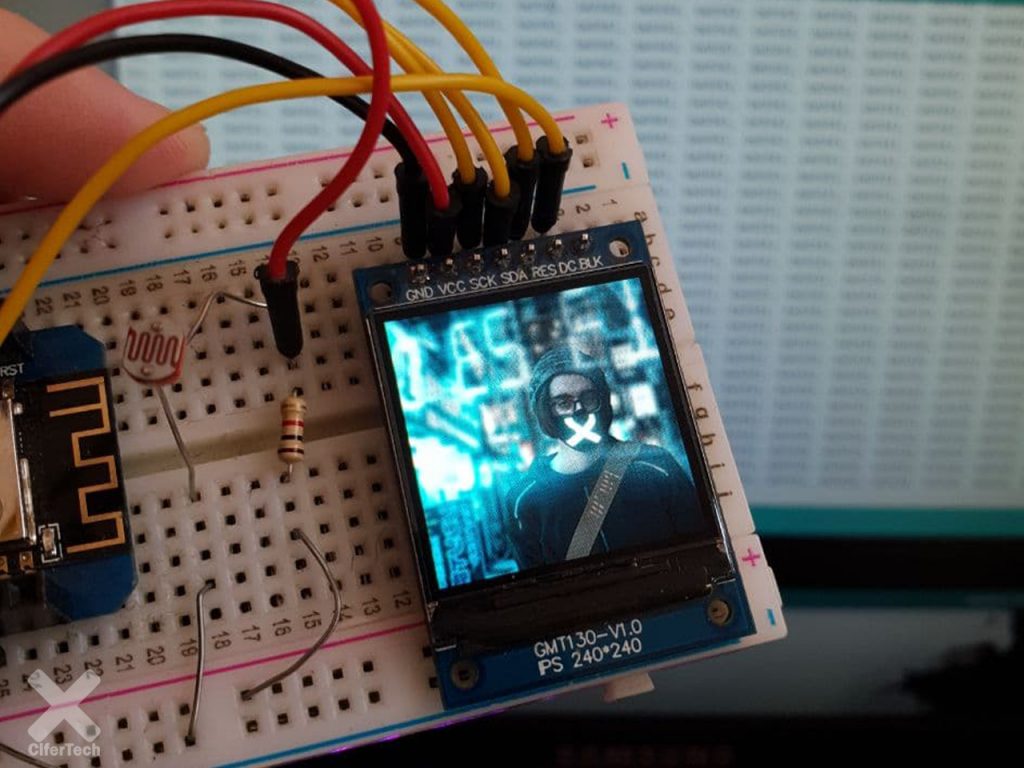
TFT stands for “Thin Film Transistor”. The color TFT LCD display has transistors made of amorphous silicon thin films deposited on the glass. It acts as a control valve to generate the proper voltage on the liquid crystals for separate sub-pixels. For this reason, the TFT LCD screen is also called the Active Matrix display. The 1.54-inch display has 240 x 240 pixels, 16-bit full color, and an IPS display, so the color looks great up to 80 degrees from the axis in any direction. This LCD uses the ST7789 driver.
Wemos
Wemos board is one of the most popular boards used in the field of iot, one of the advantages of this board compared to boards such as Node MCU is its small size. The Wi-Fi chip used in this board is ESP8266. Another advantage of this board is the existence of different shields for this board, which makes any project very easy and enjoyable for the user, shields such as battery shield, multi sensor, DHT22, relay, oled, a large number The shield has been developed for this board, which will leave you with a good iot experience.
Items needed
Nodemcu ESP8266
TFT 240×240
Arduino Library installation
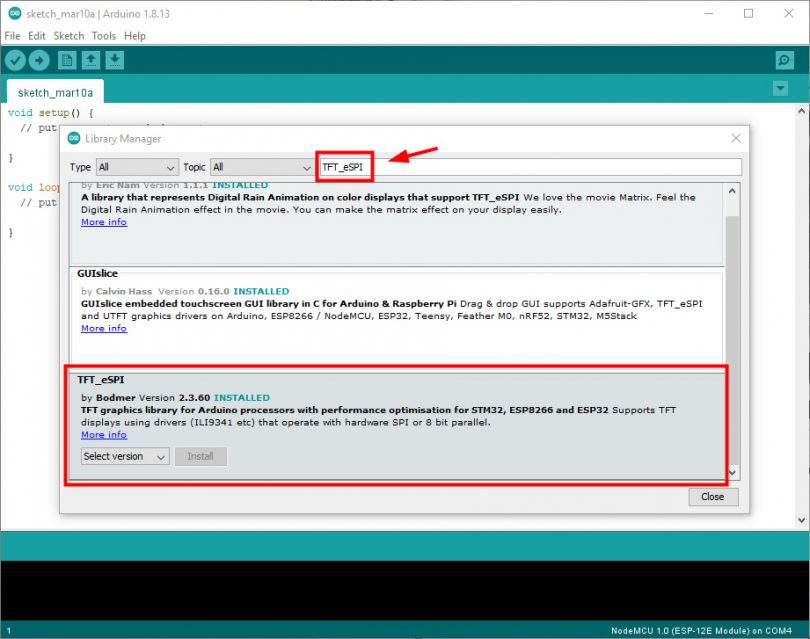
In this project, we will use the TFT-eSPI library to set up the monitor. However, in order to connect the monitor to the ESP8266 board, we will have to make changes in the library by replacing one of the files in the main folder. In this step, follow the steps below for the initial installation of the Arduino library. First, we install the TFT-eSPI sensor reference library in Arduino IDE software. Follow these steps:
- Follow this path on Arduin IDE, Sketch> Include Library> Manage Libraries
- Search for the word TFT-eSPI.
- Install the library.
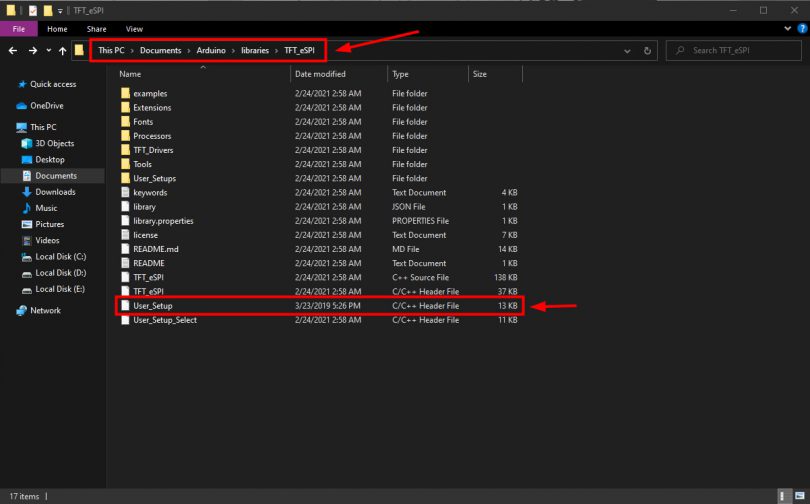
Next, to configure the screen, we need to modify User_Setup.h inside the library.
- Go to the library installation path in Documents / Arduino / libraries.
- Download the User_Setup.h file from this link and replace the existing file with the same name.
Prepare the image for display
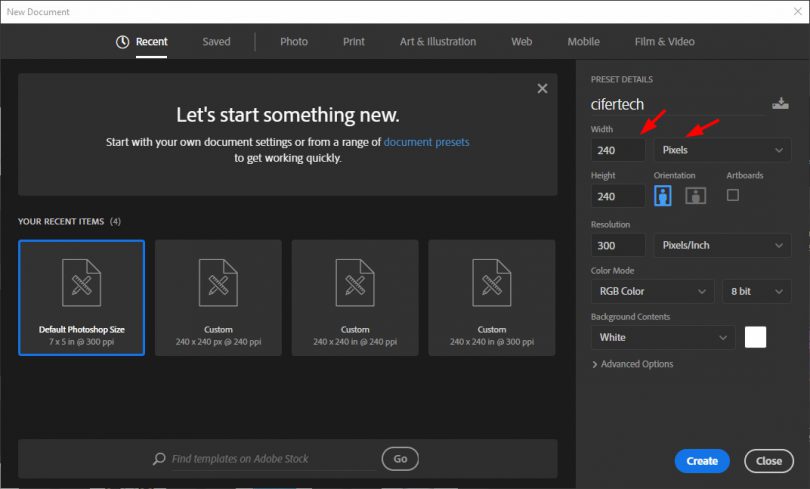
The code of this project consists of two parts, one of which is an array that has the task of integrating the introduced image code, which is the same as Bitmap.h in the project file. First, download the software needed to convert the image to code from this link. The image that we have to use in this tutorial should be in the size of 240×240, so first we will change the desired image size using Photoshop software, follow the steps below.
- First create a new project in Photoshop, then change the length and width to 240 by 240 pixels.
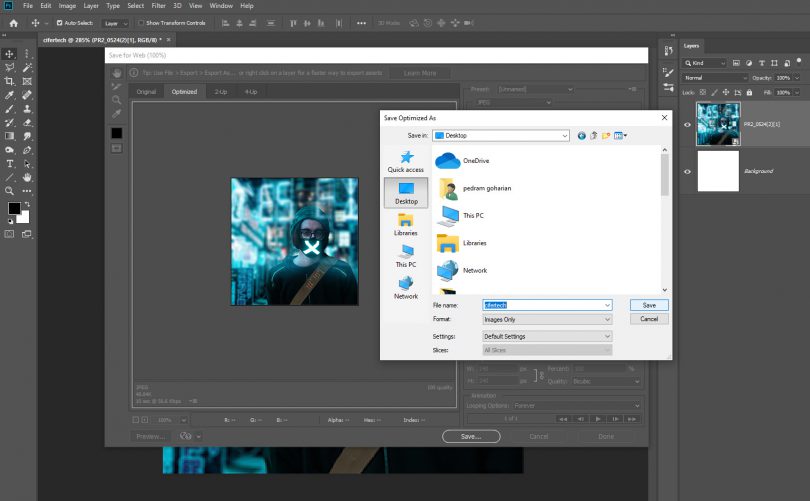
- Place the desired image in the created box and select the fourth item, Save for Web, using the File menu in the Export option.
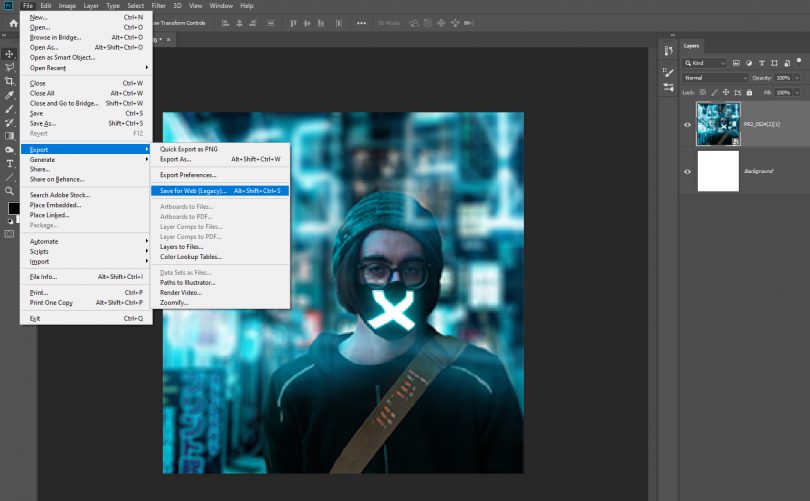
- Finally, output the image by selecting the name and path to save the photo.
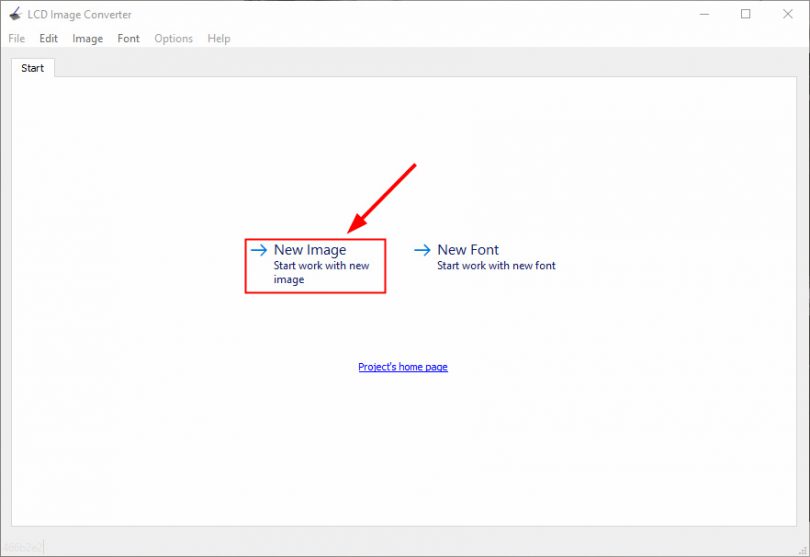
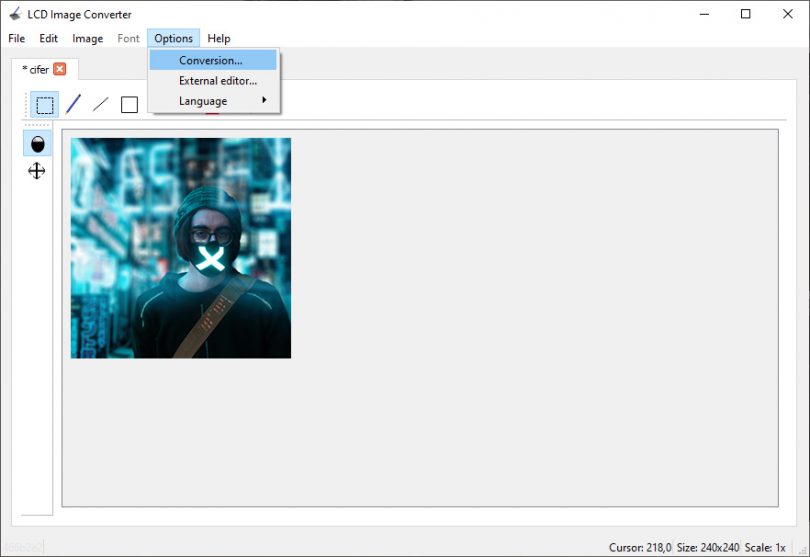
- After downloading and installing the LCD image converter software, click on the New Image option on the first page.
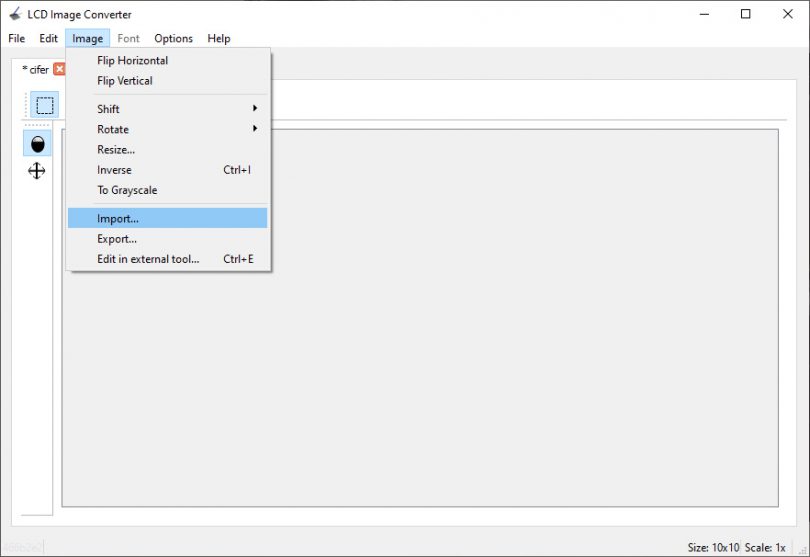
- In the Image tab, click on the Import option and select the desired image.
- Then select Conversion in the Options tab.
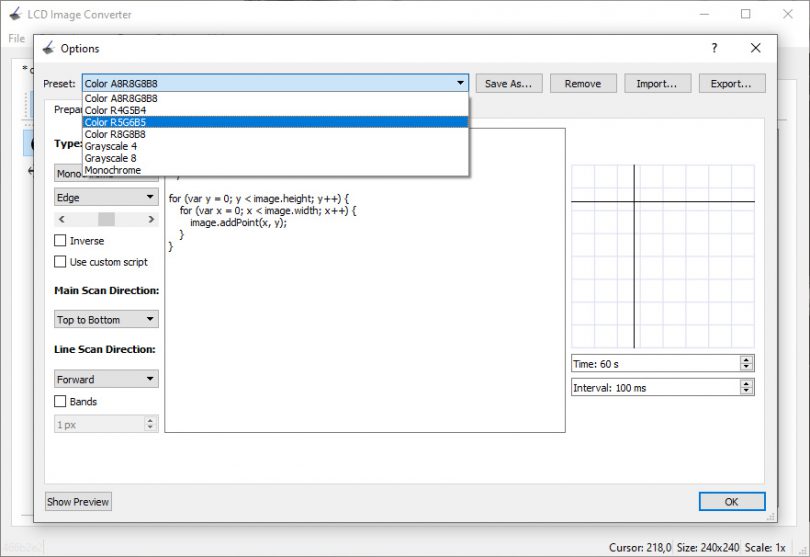
- In the new window, select Color R5G6B5 in the preset menu.
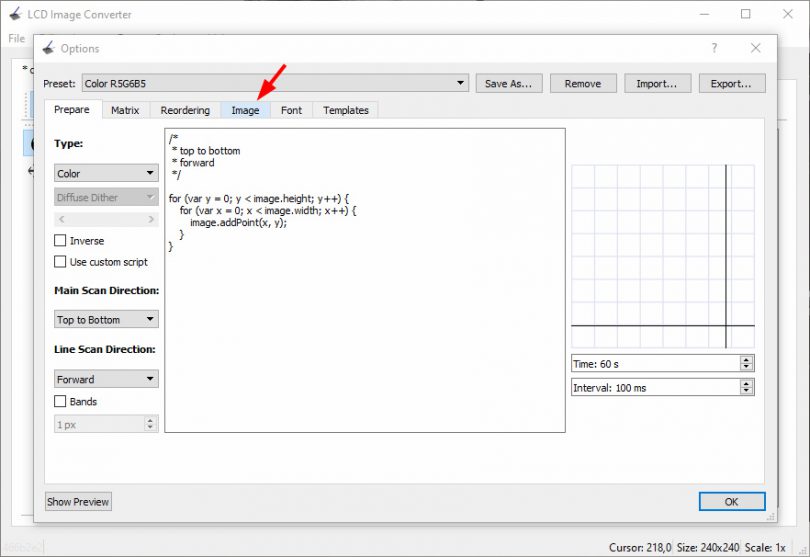
- Then go to the Image tab to specify the final settings.
- In this window, in the Block size section, select the second item, 16 bits.
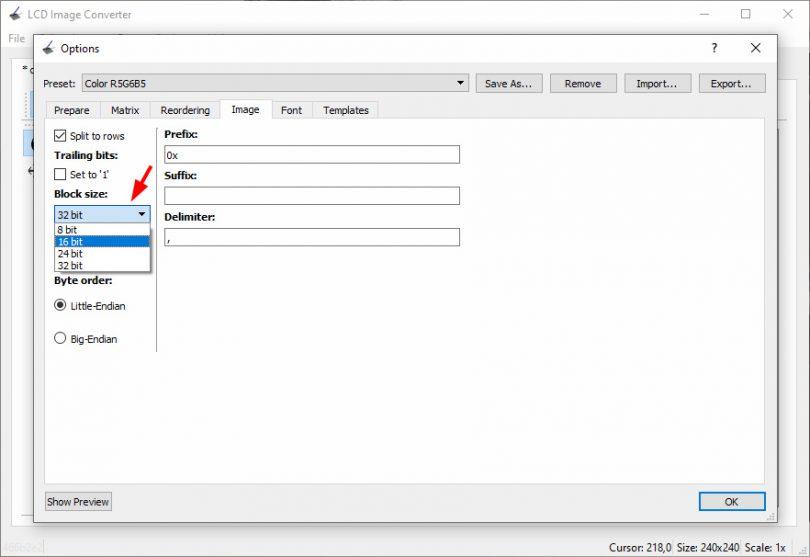
- Finally, by clicking on the Show preview option, you can get the converted code of the image.
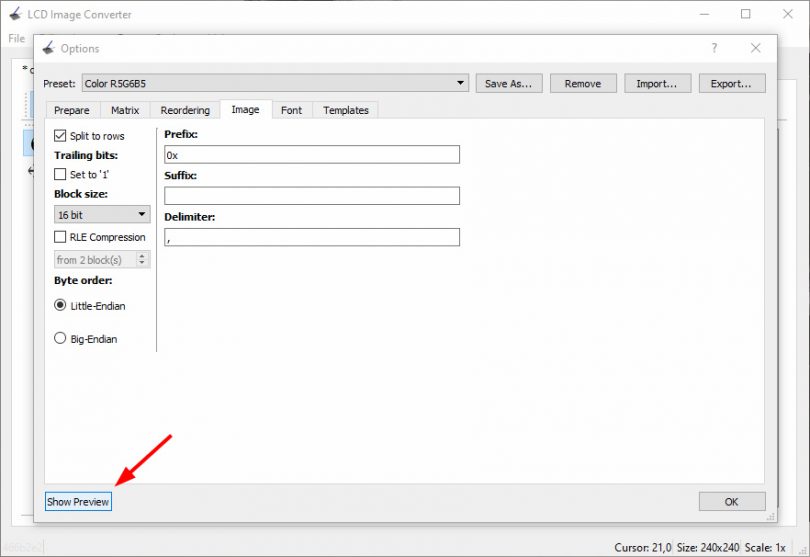
- The codes are in such a way that you can display the image in the relevant array in the code by placing them in the following cases.

Connections and setup
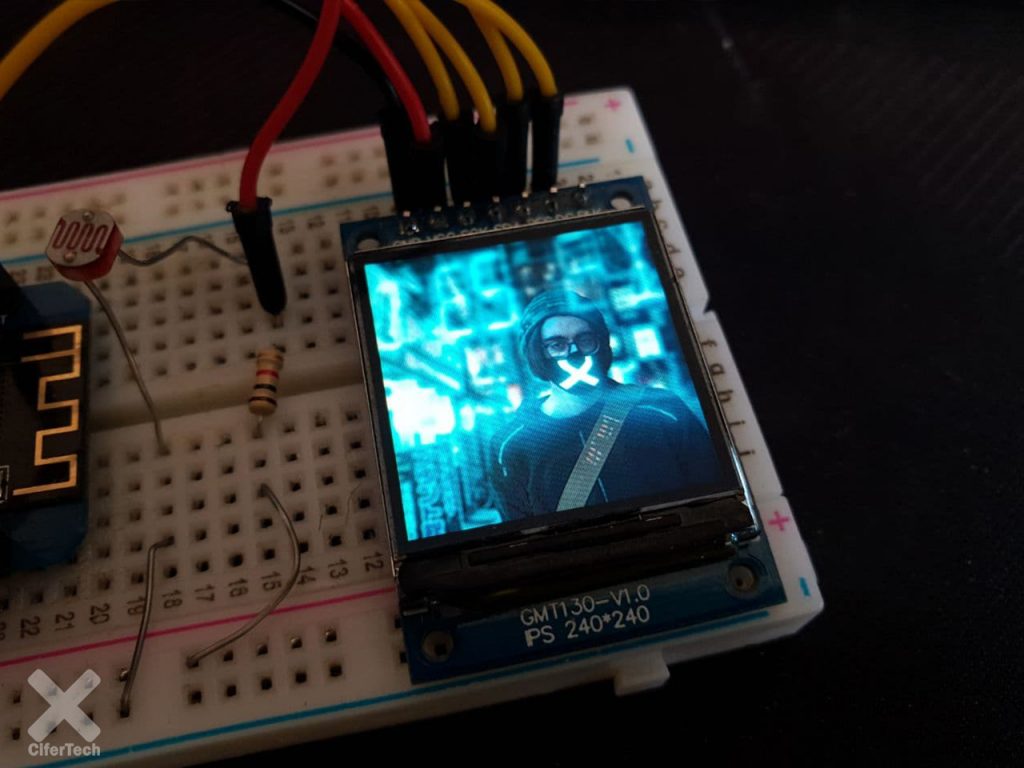
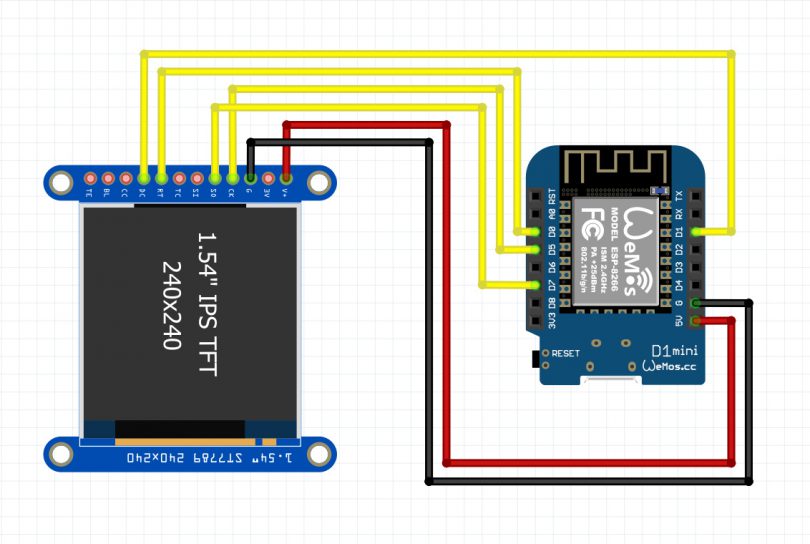
The display used in this tutorial is a TFT type with SPI communication protocol, which was set up with Wemos board and ESP8266 chip. Was occupied. Make the connections according to the table and schematic below.
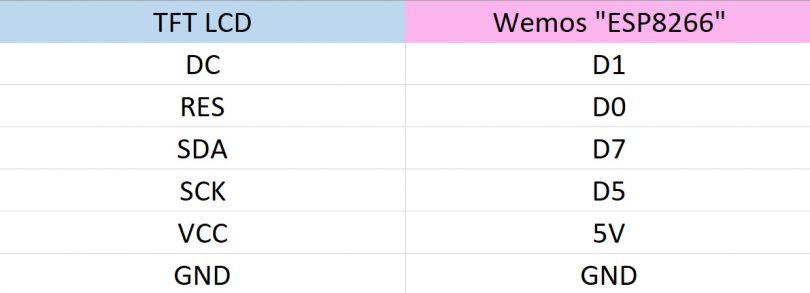
- Schematic of project connections Displays graphic images on a TFT LCD monitor.
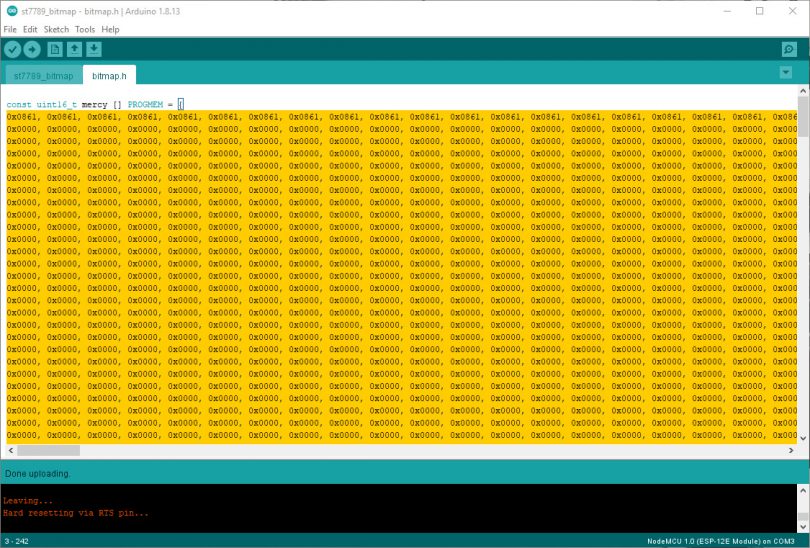
This Arduino project has two parts of code, the second header is only one array that is responsible for displaying the image by the introduced code, you can download the full code of this project from my GitHub page. In the second file, Header.h, you will enter the resulting image code into the array.
The codes will be pasted in this section.
|
1 |
const uint16_t mercy [] PROGMEM = {Here!}; |
Codes of the first part of the project to display graphic images on a TFT LCD monitor.
|
1 2 3 4 5 6 7 8 9 10 11 12 13 14 15 16 17 18 |
#include <TFT_eSPI.h> #include "bitmap.h" TFT_eSPI tft = TFT_eSPI(); void setup(void) { Serial.begin(115200); Serial.print("TFT Test"); tft.begin(); tft.setSwapBytes(true); tft.fillScreen(TFT_BLACK); tft.pushImage(0,0,240,240,mercy); } void loop() { } |
Conclusion
In this Arduino project, by converting an image to code, we were able to display the image without the need for external memory. This display has a resolution of 240 ۴ 240, which means a total of 57,600 pixels, so we first enlarged the image in Photoshop to this size. Convert and then by converting this image to color code, we obtained the pixels of each pixel, which was finally displayed on the LCD screen by introducing the program code image.