Currency cryptocurrencies have become more and more popular in the last few years, and the main reason for this is the increase in their value. However, this case should also be taken into account as the value of currency cryptocurrencies increases. The reason for the large number of users and other such factors is increasing. Meanwhile, there are currency codes that, in addition to low prices and lower extraction methods, have an interesting method for extracting or mining, for example DuinoCoin, which we will be able to mine these currency codes using microcontrollers. Visit CiferTech for more tutorials, and be sure to follow my Instagram page to support me.
DuinoCoin ᕲ
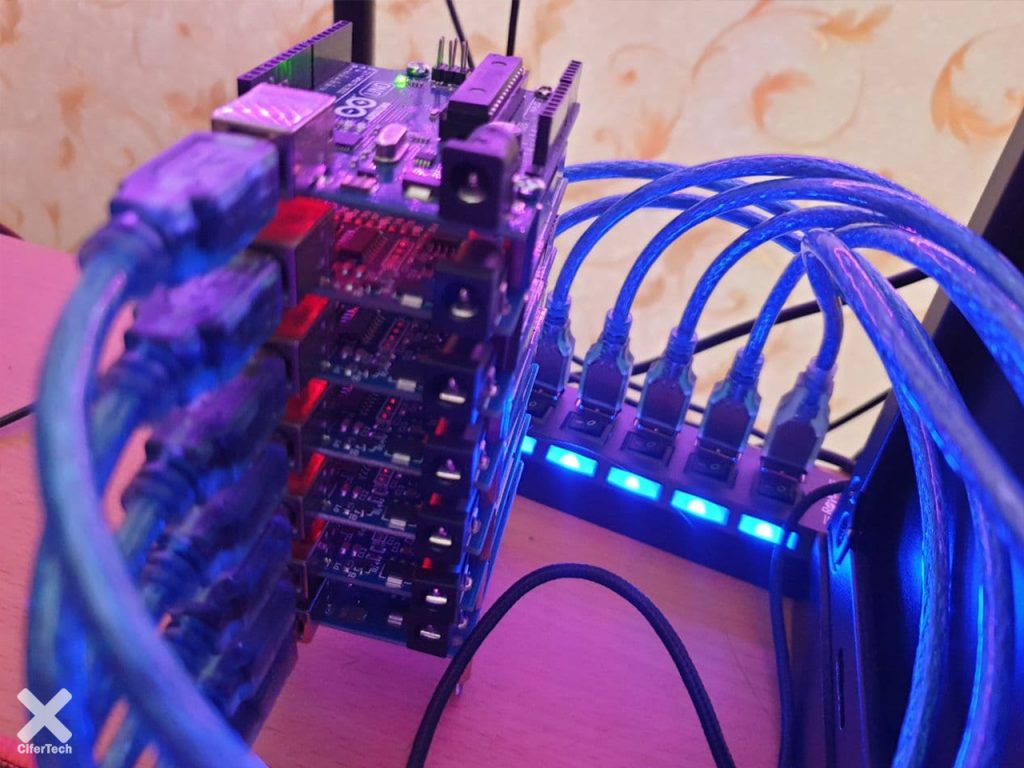
DuinoCoin is the only coin that can be mined with computers, Raspberry Pi, Arduinos, ESP boards and many other microcontrollers. Supported by a large number of operating systems. It also has a growing and friendly community and is easy to use and exchange. This password can be mined on various systems and also supports Python and C ++ programming languages. Dinoquin has special software wallets and miners released by its developers, this currency code has been in operation since 2019. Also, the transfer and receipt process in DUCO is very easy. In DinoCoin, we first select the desired cryptocurrency pair, for example DUCO to BYND, then fill in the exchange form (username, amount exchanged, etc.) then wait for the exchange. You will be notified of your assets by email.

- Coin supply: 350 thousand
- Block supply: 35 million
- Block time: instant
- Ticker: DUCO (ᕲ)
- Algorithms: DUCO-S1, DUCO-S1A
Arduino board
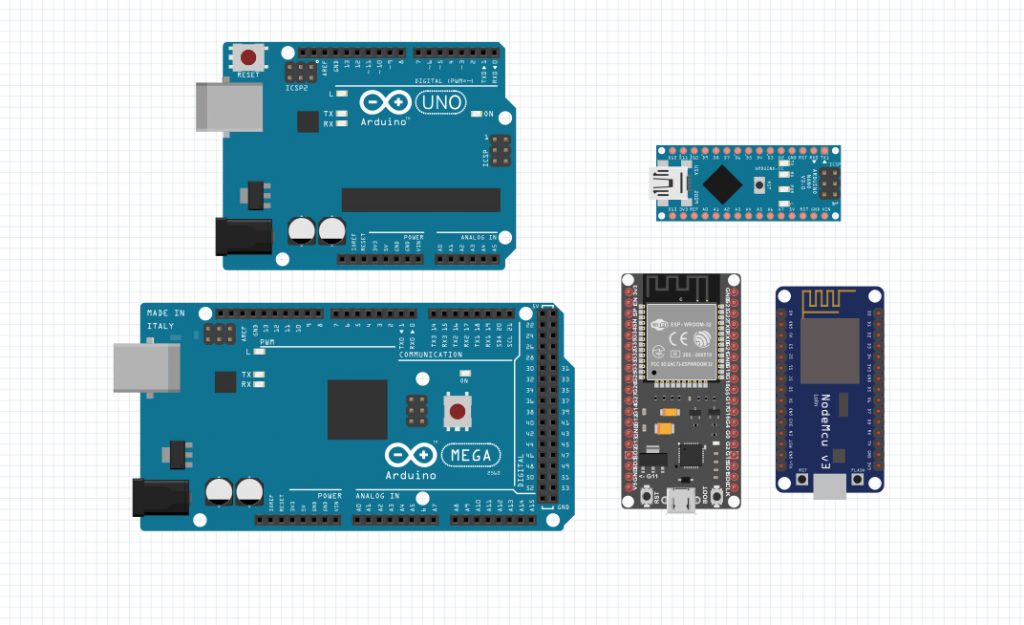
The Arduino board suite is one of the most popular development boards among embedded engineers, available in various models including Micro, proMini, Nano, Uno, as well as Mega. The core of these popular boards is the AtMega328 series. Arduino is an open source hardware, software and software platform. As mentioned earlier, the Arduino platform includes an open source single-board microcontroller that forms part of the Arduino hardware. In addition, the Arduino platform includes Arduino IDE software designed for programming Arduino boards and a software bootloader that loads on the microcontroller.
Why use DUCO?
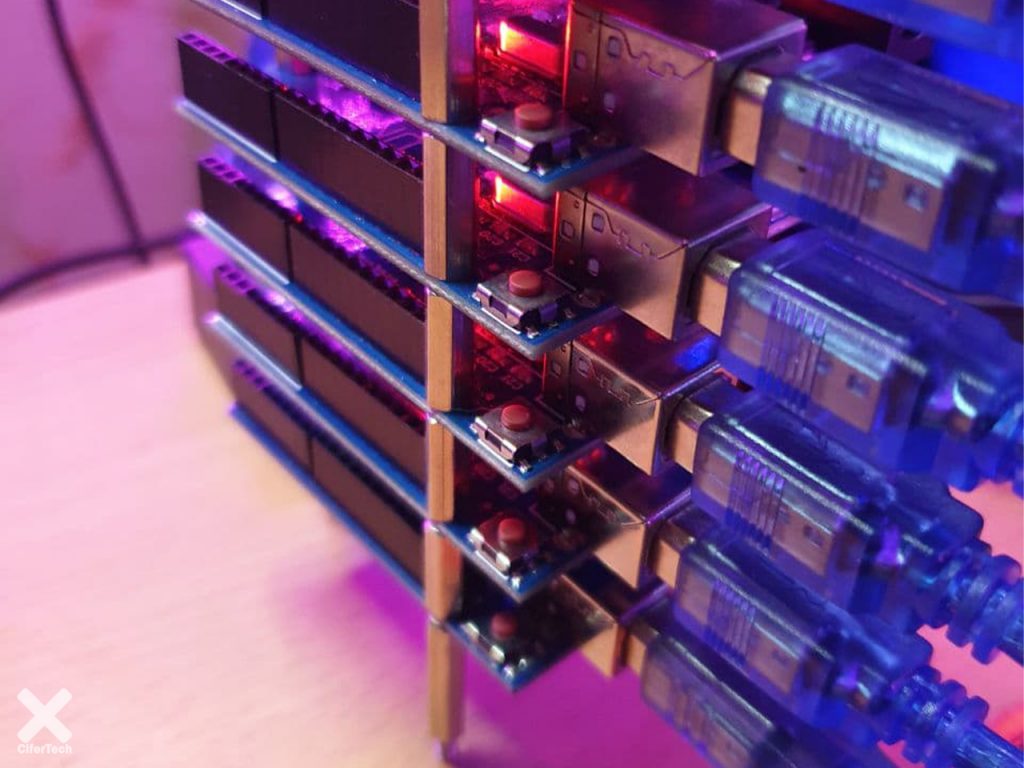
Simply put, there is literally no other currency password that supports it. Many people have an Arduino that is just waiting for days to get used to it. Using these small devices in the world of cryptography is an interesting idea. The DUCO team wanted to create something new, innovative and unique, and from the point of view of the community it has assembled, it seems to have made it possible to extract ultra-low-energy devices. DuinoCoin also supports the following boards.
Du Arduinos
(Uno, Nano, Mega, Due, Pro Mini, etc.)
📶 ESP8266s
(NodeMCU, Wemos, etc.)
P ESP32s
(ESP-WROOM, ESP32-CAM, etc.)
🍓 Raspberry Pis
(1, 2, Zero (W / WH), 3, 4, Pico, 400)
🍊 Orange Pis
(Zero, Zero 2, PC, Plus, etc.)
⚡ Teensy 4.1 boards
Terms of use of DuinoCoin service
Items needed
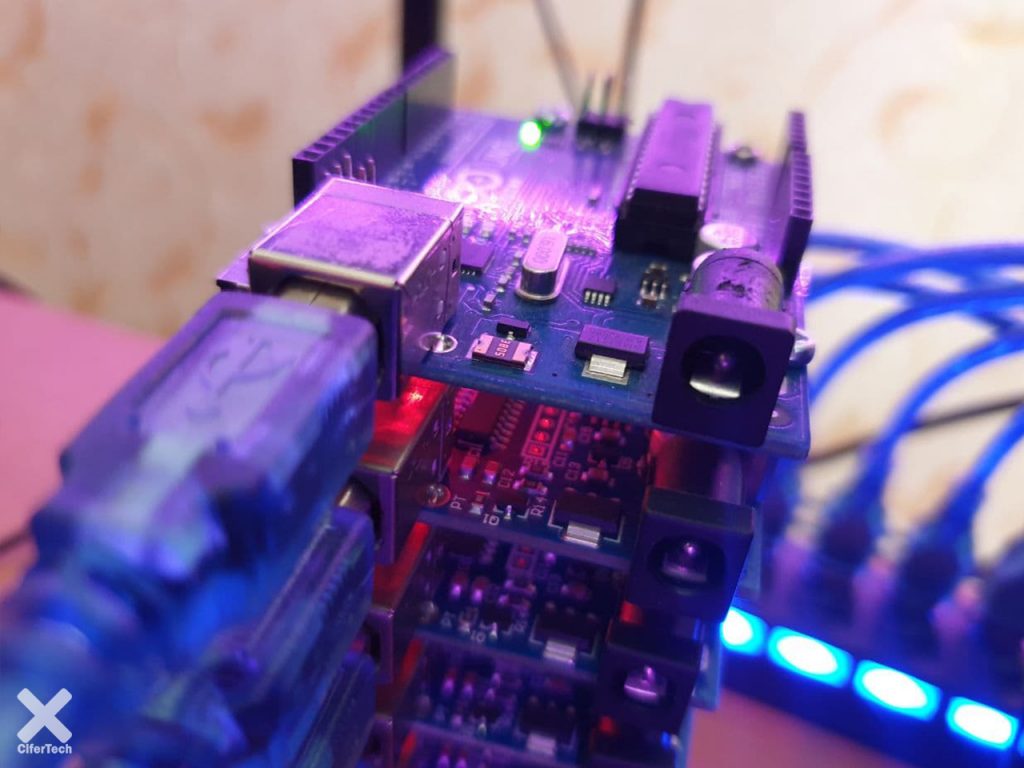
Arduino boards
ESP boards
Register an account on the Duino-Coin network
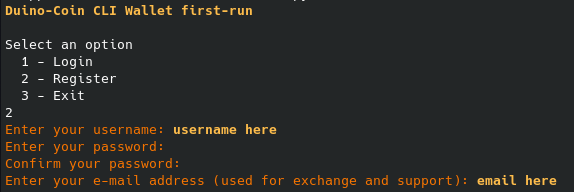
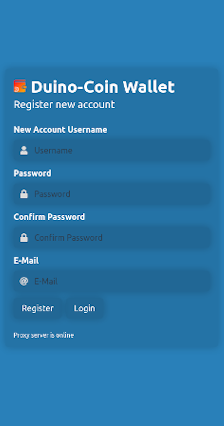
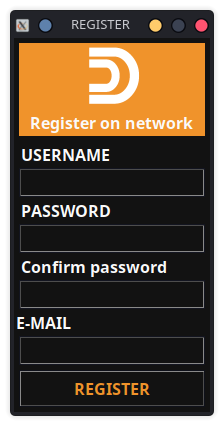
The first thing you need to do to use Duino-Coin is to register your account on the Duco network. To do this, you can use your GUI wallet or CLI wallet or web wallet to register in your browser. Everything is made in the simplest possible way, so you will have no problem registering. All you have to do is launch each wallet, select the registration option and fill in the blank with valid information. After registration, you can use all software related to Duino-Coin. In the pictures below, you can see the examples of the mentioned walt.
- The CLI wallet that runs on the terminal platform in your system and you will have access to your account by entering your username and password.
- Web wallet that you will have access to by visiting the official Doko website with the prefix Wallet.
- GUI wallet that comes with software and an executable file.
Start mining with Arduino
To start extracting this currency code, we must first set up the microcontroller to perform the required processing, in fact, the processing is done by Arduino or any of our microcontrollers, and we use the available ready-made terminal to connect to the main source. If you use ESP boards, you no longer need to run 3rd party software. To get started, upload Arduino-specific codes to your board. Below you will see part of the original code.
- The code in this section consists of several different file headers, which cannot be displayed on this page. To download the codes from this link .
|
1 2 3 4 5 6 7 8 9 10 11 12 13 14 15 16 17 18 19 20 21 22 23 24 25 26 27 28 29 30 31 32 33 34 35 36 37 38 39 40 41 42 43 44 45 46 47 48 49 50 51 52 53 54 55 56 57 58 59 60 61 62 63 64 65 66 67 68 69 70 71 72 73 74 75 76 77 78 79 80 81 82 83 84 85 86 87 88 89 90 91 92 93 94 95 96 97 98 99 100 101 102 103 104 105 106 107 108 109 110 111 112 113 114 115 116 117 118 119 120 121 122 123 |
#ifndef LED_BUILTIN #define LED_BUILTIN 13 #endif #include "sha1.h" #include "uniqueID.h" // Create globals String lastblockhash = ""; String newblockhash = ""; String DUCOID = ""; #ifdef ARDUINO_ARCH_AVR uint16_t difficulty = 0; uint16_t ducos1result = 0; #else uint32_t difficulty = 0; uint32_t ducos1result = 0; #endif const uint16_t job_maxsize = 104; // 40+40+20+3 is the maximum size of a job uint8_t job[job_maxsize]; // Setup stuff void setup() { // Prepare built-in led pin as output pinMode(LED_BUILTIN, OUTPUT); DUCOID = get_DUCOID(); // Open serial port Serial.begin(115200); Serial.setTimeout(3334); while(!Serial); // For Arduino Leonardo or any board with the ATmega32U4 Serial.flush(); } // DUCO-S1A hasher #ifdef ARDUINO_ARCH_AVR uint16_t ducos1a(String lastblockhash, String newblockhash, uint16_t difficulty) #else uint32_t ducos1a(String lastblockhash, String newblockhash, uint32_t difficulty) #endif { // DUCO-S1 algorithm implementation for AVR boards (DUCO-S1A) newblockhash.toUpperCase(); const char *c = newblockhash.c_str(); size_t final_len = newblockhash.length() >> 1; for (size_t i = 0, j = 0; j < final_len; i += 2, j++) job[j] = ((((c[i] & 0x1F) + 9) % 25) << 4) + ((c[i + 1] & 0x1F) + 9) % 25; // Difficulty loop #ifdef ARDUINO_ARCH_AVR // If the difficulty is too high for AVR architecture then return 0 if (difficulty > 655) return 0; for (uint16_t ducos1res = 0; ducos1res < difficulty * 100 + 1; ducos1res++) #else for (uint32_t ducos1res = 0; ducos1res < difficulty * 100 + 1; ducos1res++) #endif { Sha1.init(); Sha1.print(lastblockhash + String(ducos1res)); // Get SHA1 result uint8_t *hash_bytes = Sha1.result(); if (memcmp(hash_bytes, job, SHA1_HASH_LEN*sizeof(char)) == 0) { // If expected hash is equal to the found hash, return the result return ducos1res; } } return 0; } // Grab Arduino chip DUCOID String get_DUCOID() { String ID = "DUCOID"; char buff[4]; for (size_t i = 0; i < 8; i++) { sprintf(buff, "%02X", (uint8_t) UniqueID8[i]); ID += buff; } return ID; } // Infinite loop void loop() { // Wait for serial data if (Serial.available() > 0) { memset(job, 0, job_maxsize); // Read last block hash lastblockhash = Serial.readStringUntil(','); // Read expected hash newblockhash = Serial.readStringUntil(','); // Read difficulty difficulty = strtoul(Serial.readStringUntil(',').c_str(), NULL, 10); // Clearing the receive buffer reading one job. while (Serial.available()) Serial.read(); // Start time measurement uint32_t startTime = micros(); // Call DUCO-S1A hasher ducos1result = ducos1a(lastblockhash, newblockhash, difficulty); // Calculate elapsed time uint32_t elapsedTime = micros() - startTime; // Clearing the receive buffer before sending the result. while (Serial.available()) Serial.read(); // Send result back to the program with share time Serial.print(String(ducos1result) + "," + String(elapsedTime) + "," + DUCOID + "\n"); // Turn on built-in led #ifdef ARDUINO_ARCH_AVR PORTB = PORTB | B00100000; #else digitalWrite(LED_BUILTIN, HIGH); #endif // Wait a bit delay(25); // Turn off built-in led #ifdef ARDUINO_ARCH_AVR PORTB = PORTB & B11011111; #else digitalWrite(LED_BUILTIN, LOW); #endif } } |
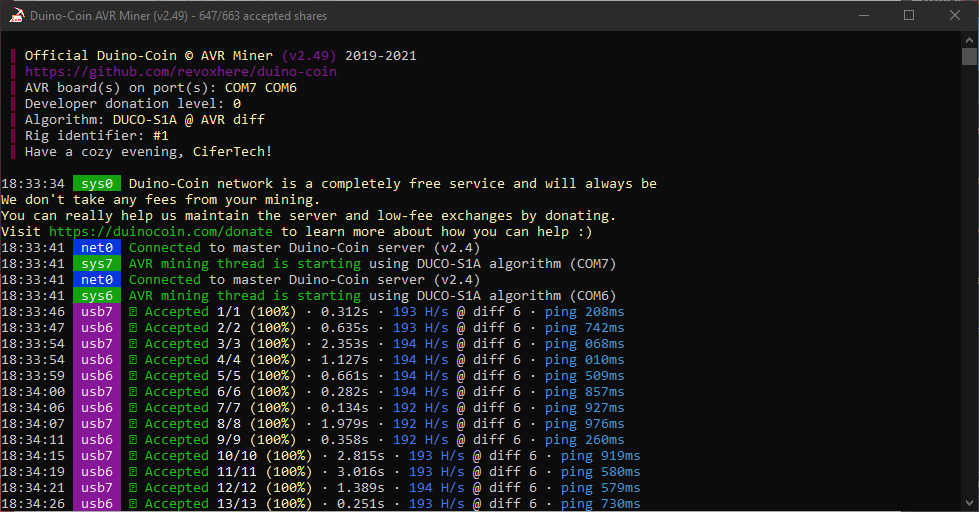
In the next step, you have to run the file named AVR Miner, which is the downloaded file, and enter the required values, it will ask you for the account name, which must be entered carefully, otherwise the password of the mined currencies They will not be transferred to your account. Then you are asked about the port in question that you need to enter exactly the programmed Arduino port, for example COM5. By answering a few more questions, you will be able to fully set up your miner, and you will be able to connect the miner to the DUCO network.

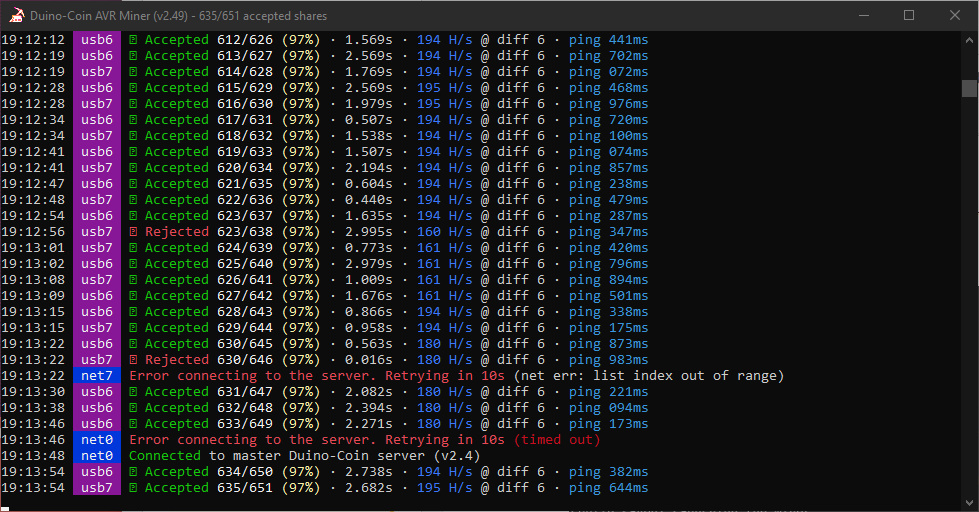
- After running the miner, the information is sent and received in this way.
The last word with CIFER
In general, currency codes have always been attractive, not because of overnight riches, but because they are new and attractive in their own right. Assuming that by using formulas with the help of your processors, from multimillion-dollar graphics cards to microcontrollers worth a few hundred of dollars, you reach a world-class value that can be exchanged, converted, it is enjoyable and attractive.
If you encounter any problems in the process of launching and carrying out this project, do not hesitate to ask your question at the end of this post. I will answer your problem as soon as possible. Also, if there is a problem in the code or the execution steps, you can inform through this way.


