In this tutorial, using the Wemos board, which is based on ESP8266, we are going to detect DEAUTH attacks and inform the user. We will also use a battery shield to make the project portable. Visit CiferTech for more tutorials, and be sure to follow my Instagram page to support me. ^-^

ESP8266 WiFi chip
The ESP32 and ESP8266 modules from Espressif Systems are some of the most widely used and accessible IoT chips. They are also cheaper than other IoT chips. We can also use Arduino software to develop its code, which provides easier access for the user.
Some features of ESP8266:
- The ESP8266 network and microcontroller module is one of the most popular, inexpensive and accessible IoT chips.
- Having a powerful microcontroller with internal WIFI network connection,
- Full TCP / IP full stack support
- It is also a good option for small and low-consumption IoT applications by providing adequate hardware interfaces.
- This microcontroller was launched in 2014.
Wemos D1 Mini
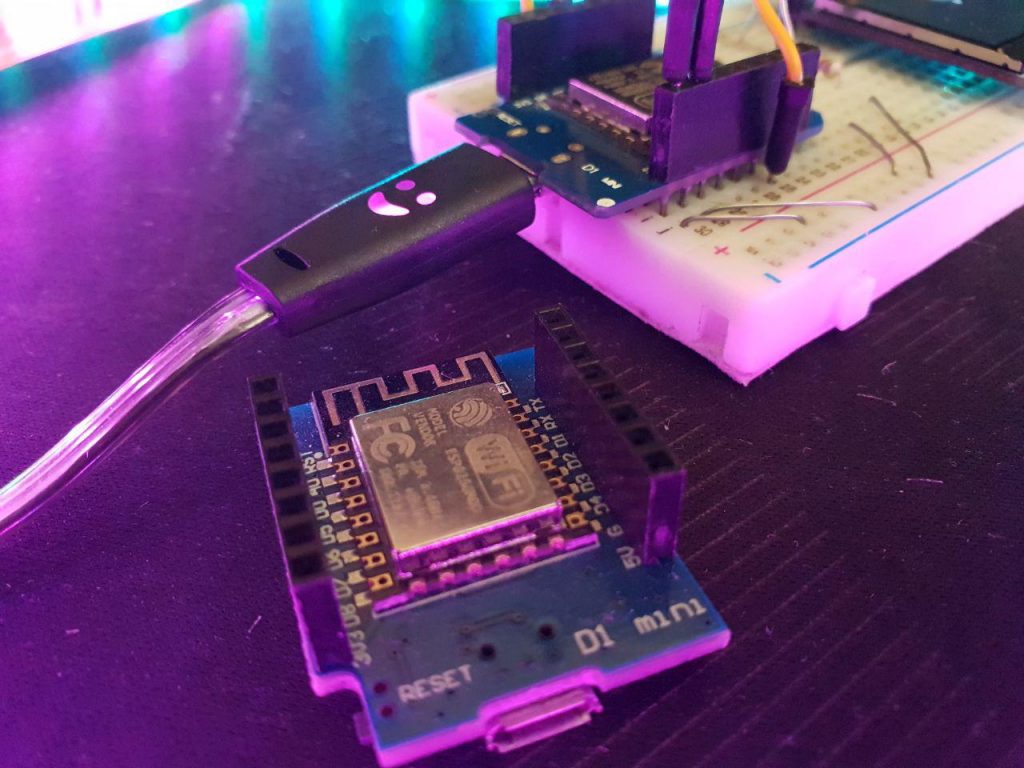
Wemos board is one of the most popular boards used in the field of iot, one of the advantages of this board compared to boards such as Node MCU is its small size. The Wi-Fi chip used in this board is ESP8266. Another advantage of this board is the existence of various shields for this board, which makes any project very easy and enjoyable for the user, shields such as battery shield, multi sensor, DHT22, relay, oled, a large number The shield has been developed for this board, which will leave you a good iot experience.

Wemos battery shield
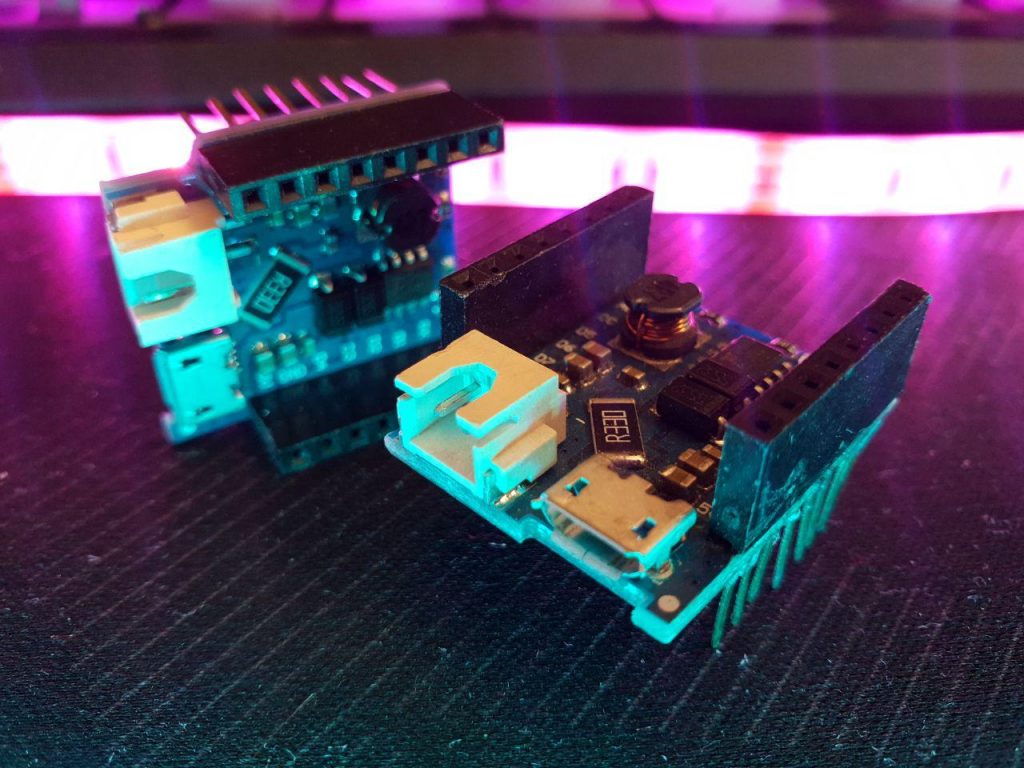
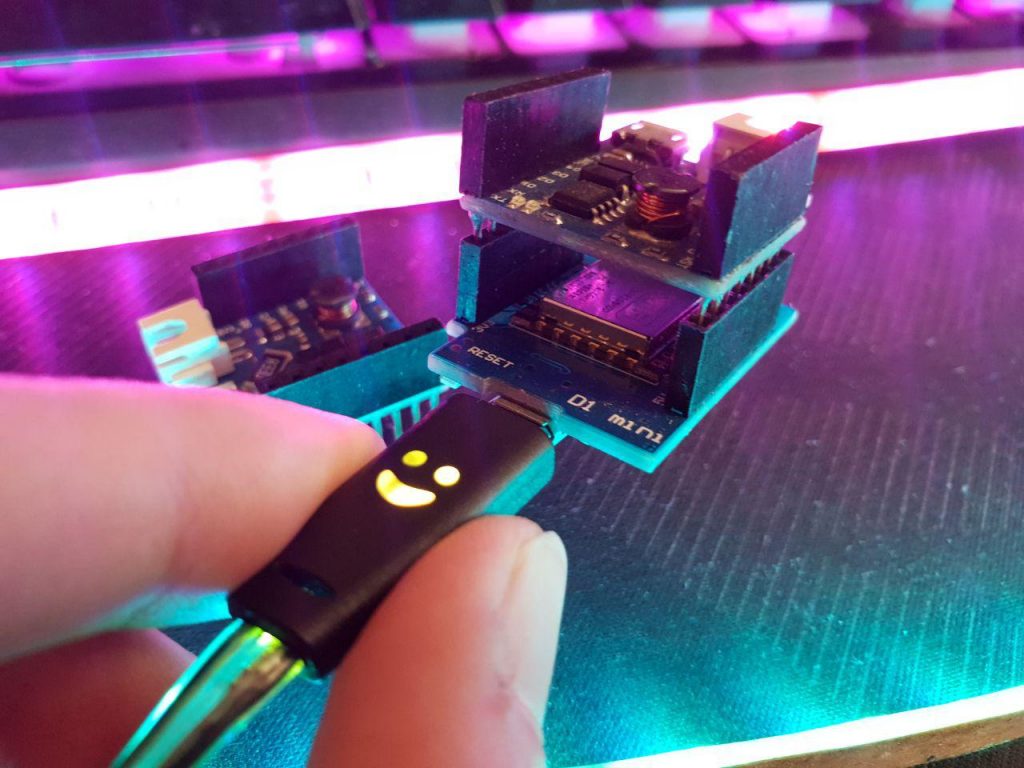
The battery shield allows the user to portable their IoT project by connecting the shield to the Wemos board and connecting the battery from the connector to charge the battery in addition to the portable size of the project. The lithium battery suitable for this shield is in the voltage range of 3.3 to 4.2.

Deauthentication attack
These types of attacks occur in the 802.11 standard, ie the same Wi-Fi wireless networks. In fact, this attack is such that by sending a large number of de-authentication packages to the target APs, the device access is cut off. We are connected to it, in fact, we do this without connecting to the target APs, and we will only be able to carry out this attack by having information such as the AP MAC address and SSID or the same Wi-Fi name. Now the question is what is the reason for this attack by the attacker ?! In fact, the whole process is to capture HandShake. In this case, the person cuts off your access to the network, forcing you to reconnect, so that the attacker can record the radio event between you and the rotor, which in This event transmits important information and as a result an attacker can infiltrate your wireless network.

Items needed
Wemos D1 Wimos Development Board
Wimos Battery Charger Shield
Neopixel LED
Lithium battery
Schematics and connections
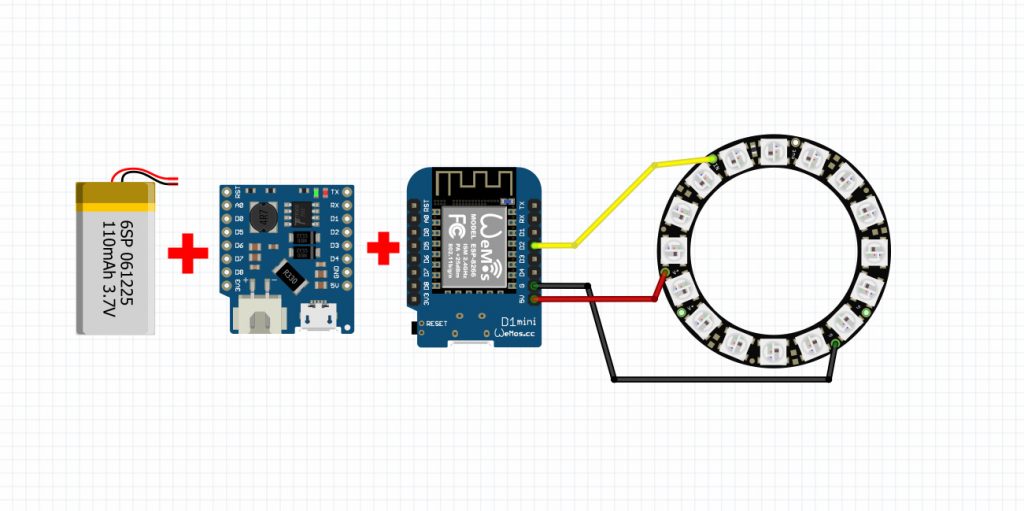
In this project, we use a neopixel ring and the DI pin is connected to the D2 pin of wemos.

Project code
First, we have introduced the following libraries, one for recognizing the ESP8266 board and the other for launching neopixels.
|
1 2 |
#include <ESP8266WiFi.h> #include <Adafruit_NeoPixel.h> |
The following functions define the requirements, such as the number of LEDs used, badrit, pin used for neopixels and other settings.
|
1 2 3 4 5 6 |
#define LED 4 #define LED_NUM 8 #define SERIAL_BAUD 115200 #define CH_TIME 140 #define PKT_RATE 5 #define PKT_TIME 1 |
Upload the following code to your board:
|
1 2 3 4 5 6 7 8 9 10 11 12 13 14 15 16 17 18 19 20 21 22 23 24 25 26 27 28 29 30 31 32 33 34 35 36 37 38 39 40 41 42 43 44 45 46 47 48 49 50 51 52 53 54 55 56 57 58 59 60 61 62 63 64 65 66 67 68 69 70 71 72 73 74 75 76 77 78 79 80 81 82 83 84 85 86 87 88 89 90 91 92 93 94 95 96 97 98 99 100 101 102 103 104 105 106 107 108 109 110 111 112 113 114 115 116 117 118 119 120 121 122 123 124 |
#include <ESP8266WiFi.h> // For the WiFi Sniffer #include <Adafruit_NeoPixel.h> // For the Neopixel/WS2812 LED(s) // include ESP8266 Non-OS SDK functions extern "C" { #include "user_interface.h" } // ===== SETTINGS ===== // #define LED 4 /* LED pin */ #define LED_NUM 8 /* Number of LEDs */ #define SERIAL_BAUD 115200 /* Baudrate for serial communication */ #define CH_TIME 140 /* Scan time (in ms) per channel */ #define PKT_RATE 5 /* Min. packets before it gets recognized as an attack */ #define PKT_TIME 1 /* Min. interval (CH_TIME*CH_RANGE) before it gets recognized as an attack */ // Channels to scan on (US=1-11, EU=1-13, JAP=1-14) const short channels[] = { 1, 2, 3, 4, 5, 6, 7, 8, 9, 10, 11, 12, 13/*,14*/ }; // ===== Runtime variables ===== // Adafruit_NeoPixel pixels { LED_NUM, LED, NEO_GRB + NEO_KHZ800 }; // Neopixel LEDs int ch_index { 0 }; // Current index of channel array int packet_rate { 0 }; // Deauth packet counter (resets with each update) int attack_counter { 0 }; // Attack counter unsigned long update_time { 0 }; // Last update time unsigned long ch_time { 0 }; // Last channel hop time // ===== Sniffer function ===== // void sniffer(uint8_t *buf, uint16_t len) { if (!buf || len < 28) return; // Drop packets without MAC header byte pkt_type = buf[12]; // second half of frame control field //byte* addr_a = &buf[16]; // first MAC address //byte* addr_b = &buf[22]; // second MAC address // If captured packet is a deauthentication or dissassociaten frame if (pkt_type == 0xA0 || pkt_type == 0xC0) { ++packet_rate; } } // ===== Attack detection functions ===== // void attack_started() { for (int i = 0; i < LED_NUM; ++i) pixels.setPixelColor(i, pixels.Color(0, 120, 120)); pixels.show(); Serial.println("ATTACK DETECTED"); } void attack_stopped() { for (int i = 0; i < LED_NUM; i++) { pixels.setPixelColor(i, pixels.Color(120, 0, 120)); } pixels.show(); Serial.println("ATTACK STOPPED"); } // ===== Setup ===== // void setup() { Serial.begin(SERIAL_BAUD); // Start serial communication // Init LEDs pixels.begin(); for (int i = 0; i < LED_NUM; ++i) pixels.setPixelColor(i, pixels.Color(0, 100, 0)); pixels.show(); WiFi.disconnect(); // Disconnect from any saved or active WiFi connections wifi_set_opmode(STATION_MODE); // Set device to client/station mode wifi_set_promiscuous_rx_cb(sniffer); // Set sniffer function wifi_set_channel(channels[0]); // Set channel wifi_promiscuous_enable(true); // Enable sniffer Serial.println("Started \\o/"); } // ===== Loop ===== // void loop() { unsigned long current_time = millis(); // Get current time (in ms) // Update each second (or scan-time-per-channel * channel-range) if (current_time - update_time >= (sizeof(channels)*CH_TIME)) { update_time = current_time; // Update time variable // When detected deauth packets exceed the minimum allowed number if (packet_rate >= PKT_RATE) { ++attack_counter; // Increment attack counter } else { if (attack_counter >= PKT_TIME) attack_stopped(); attack_counter = 0; // Reset attack counter } // When attack exceeds minimum allowed time if (attack_counter == PKT_TIME) { attack_started(); } Serial.print("Packets/s: "); Serial.println(packet_rate); packet_rate = 0; // Reset packet rate } // Channel hopping if (sizeof(channels) > 1 && current_time - ch_time >= CH_TIME) { ch_time = current_time; // Update time variable // Get next channel ch_index = (ch_index + 1) % (sizeof(channels) / sizeof(channels[0])); short ch = channels[ch_index]; // Set channel //Serial.print("Set channel to "); //Serial.println(ch); wifi_set_channel(ch); } } |

Conclusion
As a result, after connecting and uploading the color code, the neopixels will turn green, and when an attack occurs, the color of the neopixels will turn red. In fact, Wemos is always scanning the 14 available channels, and in case of any problems, you will be notified.
- Thanks to Spacehuhn’s for providing the code for this project, go check out his website with awesome content.


