
🌟 About the Project
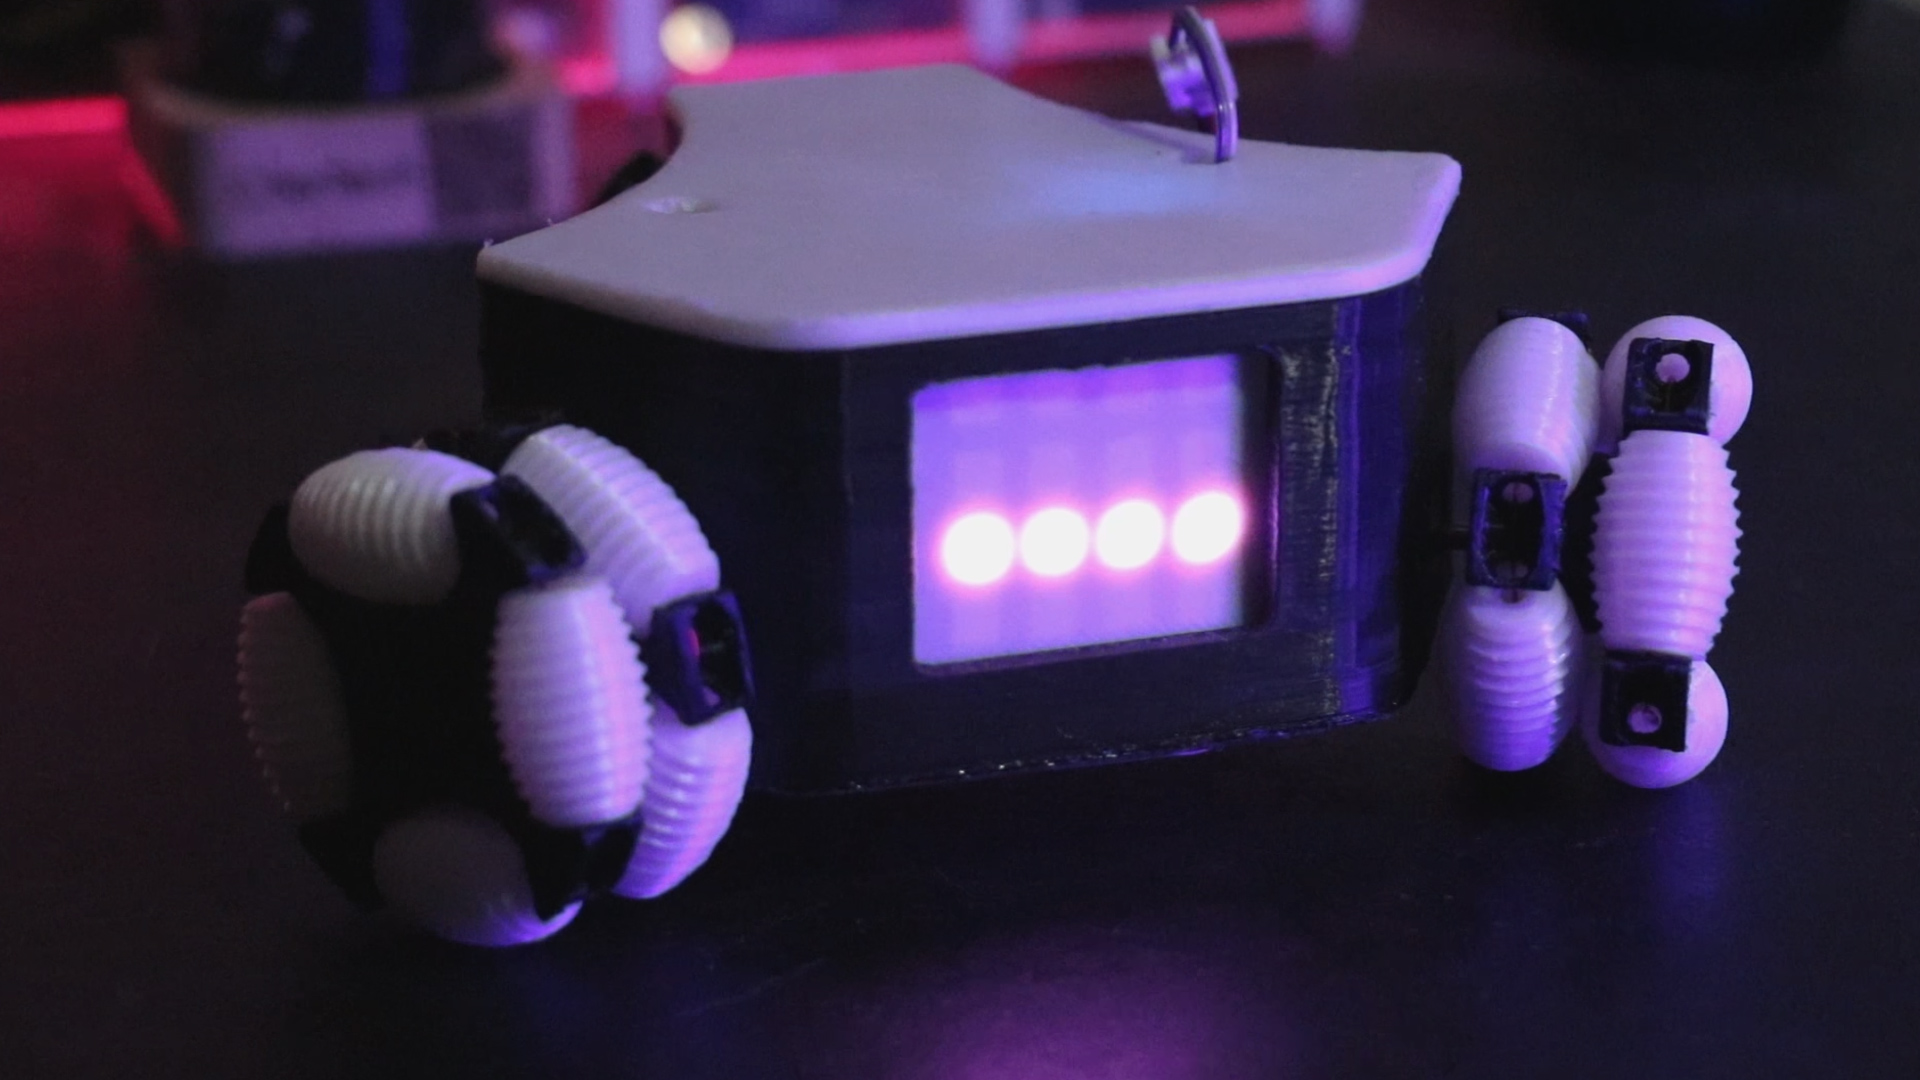
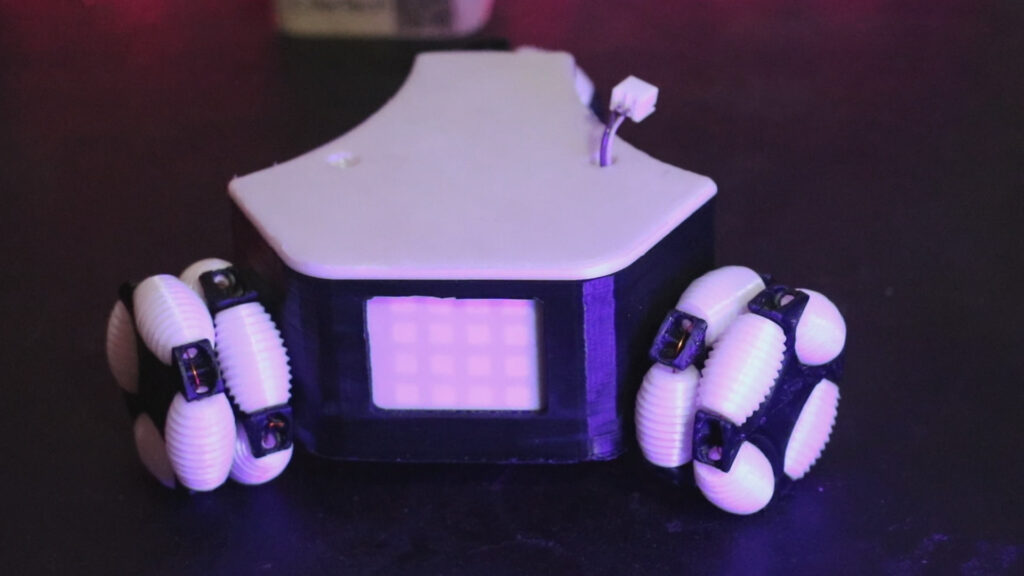
The goal of this project is to build an omni wheel robot that can move in 8 different directions. The robot will be controlled using a web server, which will allow us to control the robot’s movement from a computer or smartphone. To make the robot look more attractive, we will add a ws2812 Matrix Display. We will use an ESP8266 as the processor and the DRV8833 Dual Motor Driver Module to control the robot’s DC motors.
🎯 Features
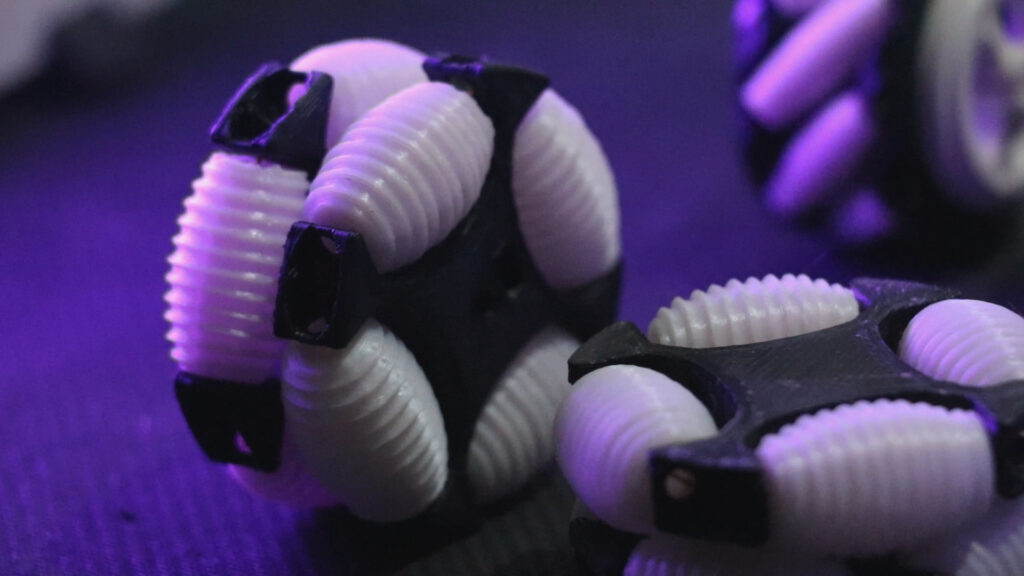
The key feature of this robot is its ability to move in 8 different directions. This is possible because of the special wheels that it has. The robot can move forward, backward, left, right, and diagonally in any direction. This makes it highly maneuverable and ideal for applications that require precision movement.
Another important feature of this robot is that it can be controlled using a web server. This means that we can control the robot’s movement from anywhere as long as we have an internet connection. The web server allows us to control the robot’s movement using a computer or smartphone.
🧰 Getting Started
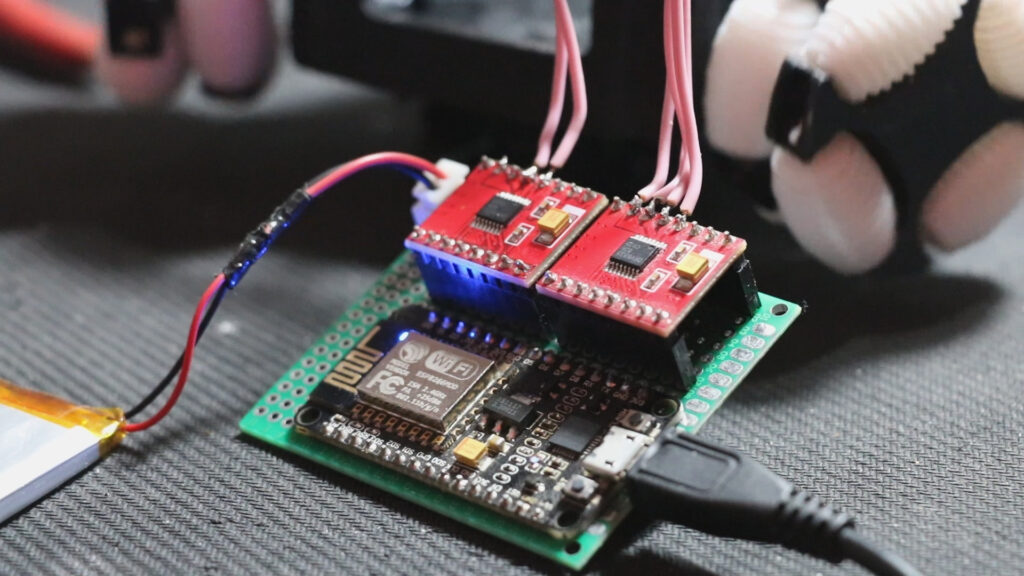
To build this robot, we will need an ESP8266 as the processor, a DRV8833 Dual Motor Driver Module to control the DC motors, and a ws2812 Matrix Display. We will also need some DC motors, wheels, and other components to complete the build. The following is a list of the components we will need:
- • ESP8266
- • DRV8833 Dual Motor Driver Module
- • ws2812 Matrix Display
- • DC Motor
- • Wheels
🔌 Schematic
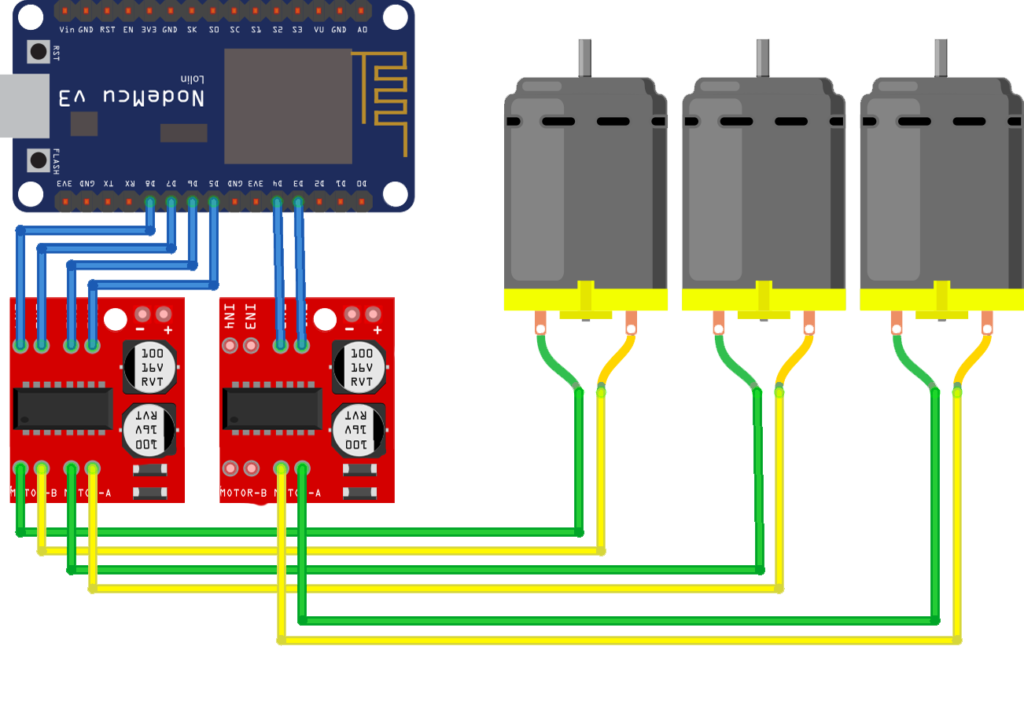
The following is the schematic for the omni wheel robot:
Once we have all the necessary components, we can start building the robot. We will first need to make the necessary connections between the components. We will connect the ESP8266 and DRV8833 as follows:
| ESP8266 | DRV8833 |
|---|---|
| D3 | AIN1 |
| D4 | AIN2 |
| D5 | BIN1 |
| D6 | BIN2 |
| D7 | AIN3 |
| D8 | AIN4 |
| 5V | Vm |
| GND | GND |
We will also connect the ESP8266 and Matrix Display as follows:
| ESP8266 | Matrix Display |
|---|---|
| D2 | Din |
| 5V | VDD |
| GND | GND |
Once we have made all the necessary connections, we can proceed to the next step.
⚙️ Installation
Before uploading the code to the ESP8266, we will need to install the Adafruit_NeoPixel library in Arduino IDE. The following are the steps to install the library:
- 1. Open the Arduino IDE
- 2. Go to Sketch > Include Library > Manage Libraries
- 3. Search for “Adafruit_NeoPixel”
- 4. Click “Install”
![]()
Code
If you’re interested in building this project on your own, the code is available on GitHub. Simply go to the GitHub repository, and download the code.
GitHub repository: github.com/cifertech/OMNI-ROBOT
Inside the codes, you can see that by defining the pins that are connected to the driver as outputs, we can control the rotation direction of the motors by changing the status of these pins between HIGH and LOW.
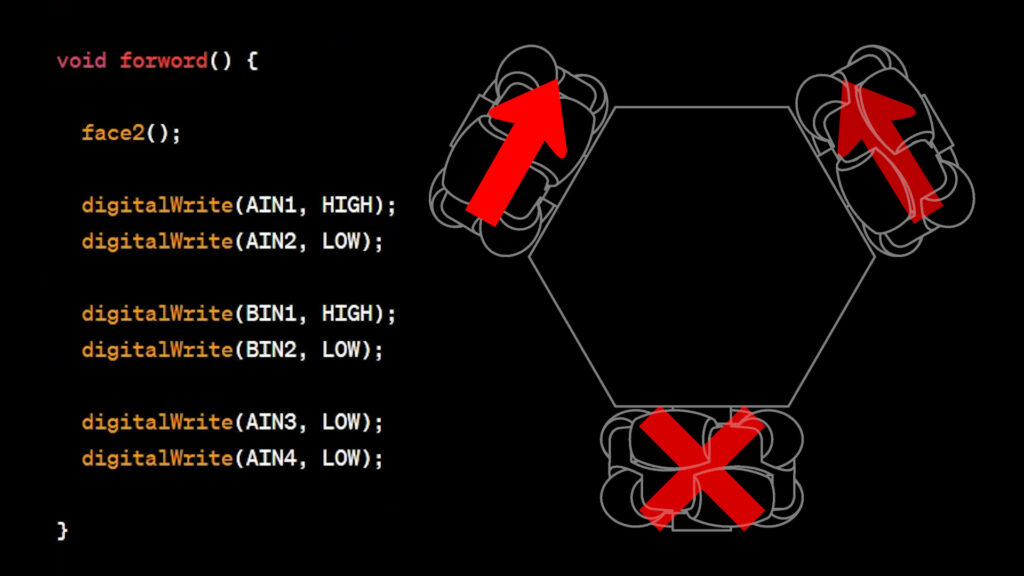
This code defines a function named forword() that controls a motor driver to make a robot move forward.
The digitalWrite() function is used to send a digital signal to the pins that are connected to the motor driver. In this case, AIN1 and AIN2 pins are set to HIGH and LOW, respectively, which means that the left motor is rotated in one direction, while BIN1 and BIN2 pins are set to HIGH and LOW, respectively, which means that the right motor is rotated in the same direction as the left motor.
Lastly, AIN3 and AIN4 pins are set to LOW, which means that the left motor is stopped while the right motor continues to rotate, allowing the robot to move forward in a straight line.
There are several functions that control the robot’s movement, such as forword(), backword(), left(), right(), cw(), ccw(), br(), bl(), fl(), and fr(), each corresponding to a specific movement. These functions set the appropriate pin states to control the robot’s motors.
- •
stop(): Stops the robot by turning off all the motor pins. - •
backword(): Makes the robot move backward by setting the appropriate pins high and low. - •
forword(): Makes the robot move forward by setting the appropriate pins high and low. - •
left(): Makes the robot turn left by setting the appropriate pins high and low. - •
right(): Makes the robot turn right by setting the appropriate pins high and low. - •
cw(): Rotates the robot clockwise. - •
ccw(): Rotates the robot counterclockwise. - •
br(): Makes the robot move backward and turn right. - •
fl(): Makes the robot move forward and turn left. - •
bl(): Makes the robot move backward and turn left. - •
fr(): Makes the robot move forward and turn right.
👀 Usage
After completing all the steps, an access point will be created for you. By connecting to this access point and searching for the IP address “192.168.4.1”, you can access the web server and control the robot. You will be able to control the robot’s movement using a computer or smartphone.
👋 Contributing
We hope that this project inspires you to build your own omni wheel robot. If you have any questions or suggestions for improvements, please feel free to reach out to us. We would love to hear from you and see your own creations.