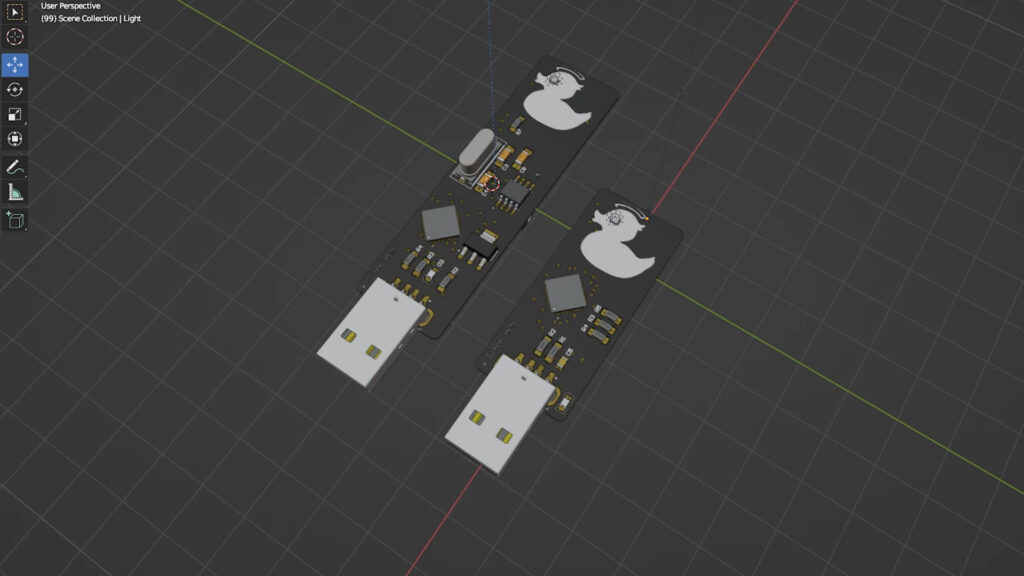
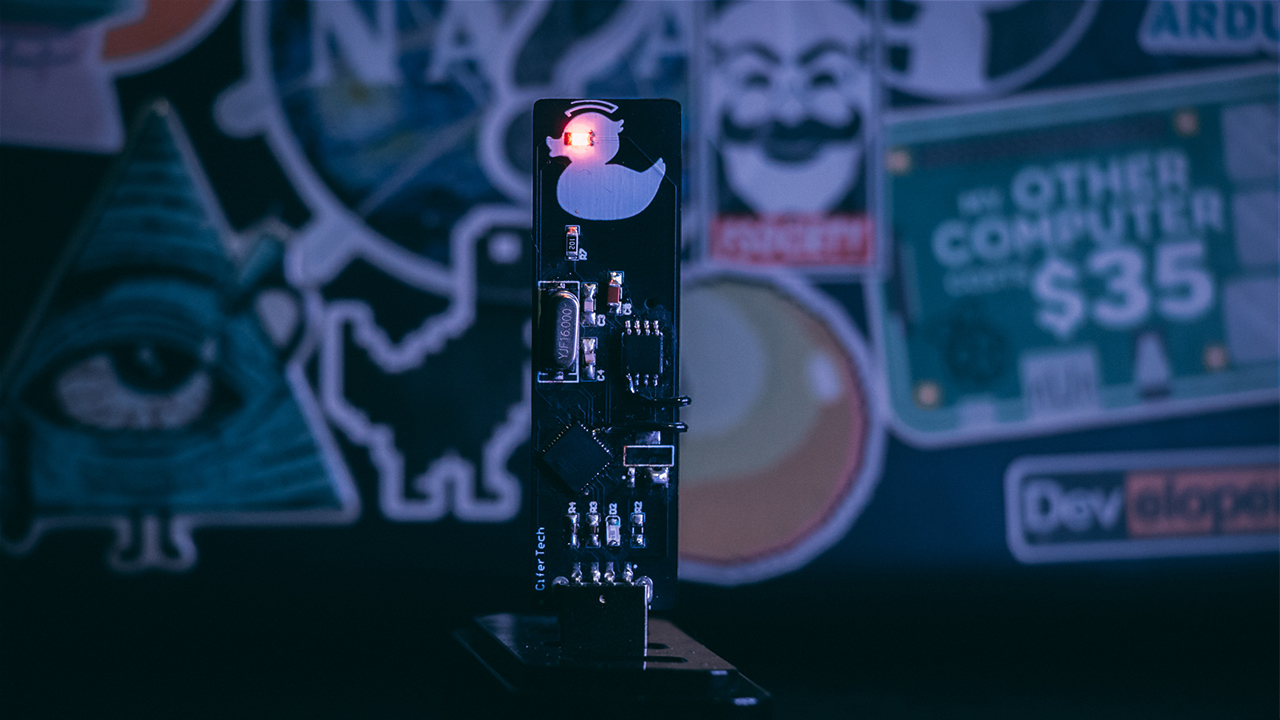
🌟 About the Project
Hey everyone! Today, I’m excited to share my journey of creating a homemade bad USB device, which I’ve named “EvilDuck.” Let me walk you through how it all began and where it’s headed.
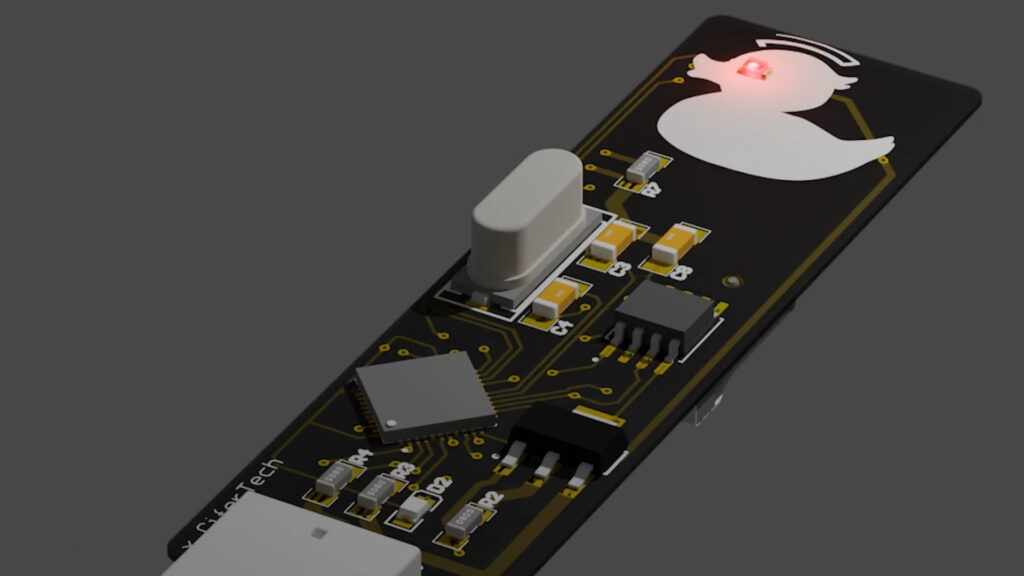
🎯 Features
It all started with a tiny board called Digispark, powered by something called ATtiny85. This little board has a cool trick up its sleeve – it can act like a keyboard or mouse when programmed right. I’ve seen similar devices like Rubber Ducky and WiFi Duck out there, so I thought, “Why not make my own?” Well, things didn’t go exactly as planned, but that’s part of the adventure!
I remembered hearing about another chip, the ATmega32u4, known for its similar capabilities. Back in the day, I wanted to make a DIY bad USB with it but never got around to it. Fast forward to now, and I’m diving into designing a PCB (that’s like a little circuit board) for EvilDuck.
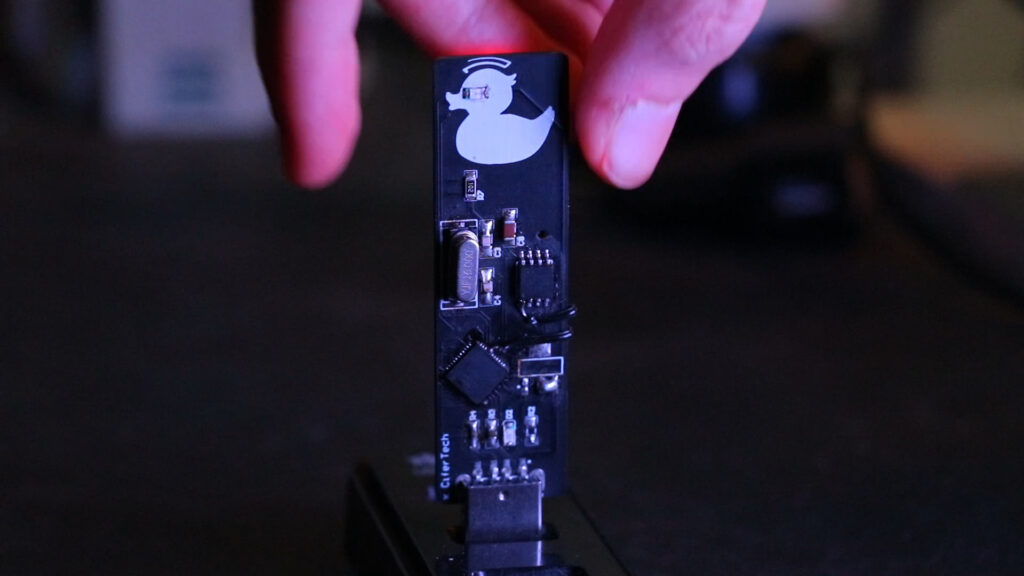
🔌 Schematic
So, let’s talk about the basic components. First up, I used a USB connector so EvilDuck could plug into a computer. Then, there’s a voltage regulator to make sure everything gets the right power – I settled on a steady 3.3 volts.
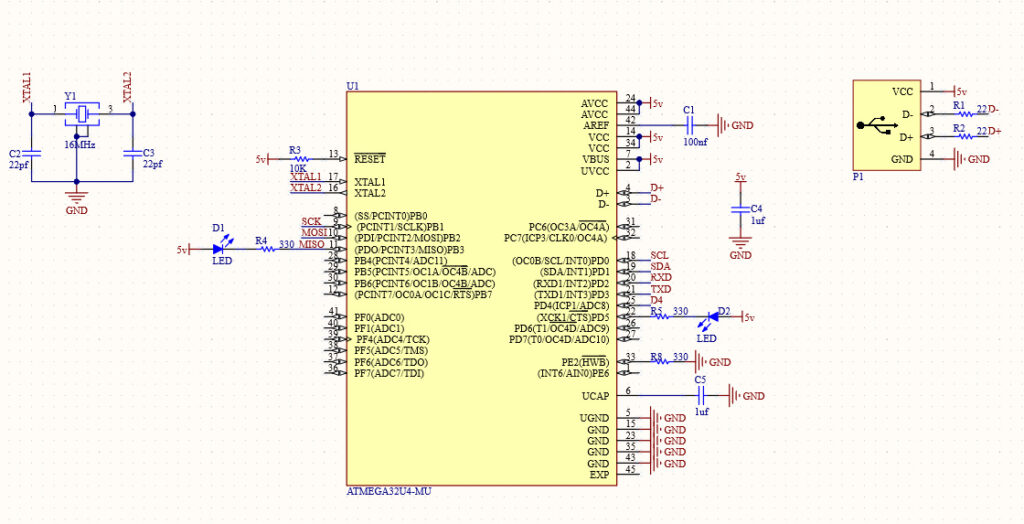
Now, onto one of the hiccups in my journey – the SD card reader. It caused me some trouble, but I’ve learned from my mistakes and plan to tackle it in the next version of EvilDuck.
If you’ve been following me on Instagram, you’ve probably seen me share some of my blunders. One big mistake was forgetting to connect VBUS to the main power source – a rookie mistake! And let’s not forget, I realized later that all this power should have been at 5 volts, not 3.3 volts for the ATmega32u4.

👀 Usage
Once EvilDuck is assembled and ready to go, using it is a breeze. Simply plug the USB connector into the target computer’s USB port. EvilDuck will then spring into action, executing its programmed script with precision.
The versatility of EvilDuck allows it to perform various tasks depending on the script loaded onto it. Whether it’s keystroke injections, mouse movements, or other actions, EvilDuck can mimic user inputs to carry out its designated functions seamlessly.
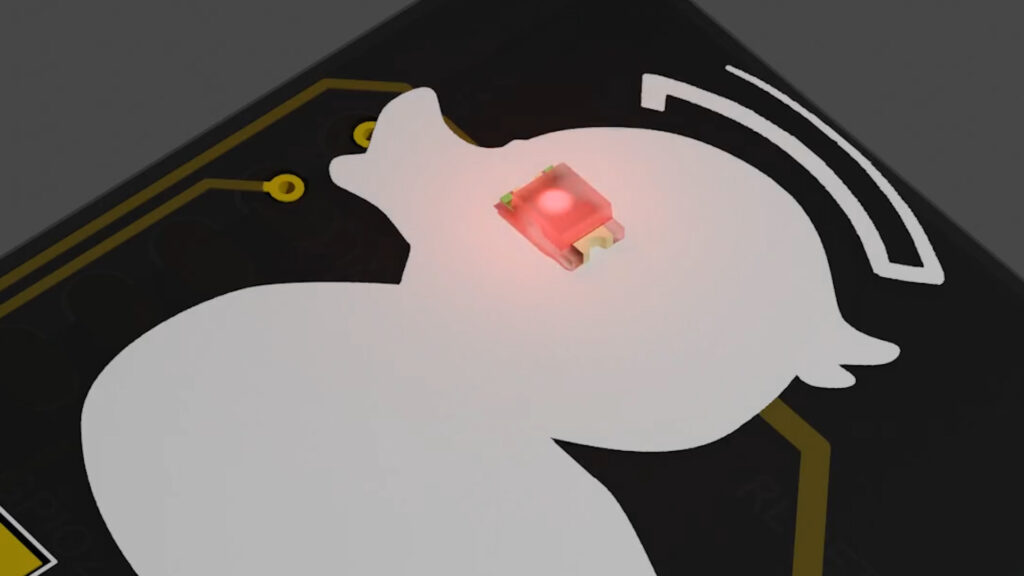
As EvilDuck executes the script, a small indicator LED blinks to provide visual feedback, indicating that it’s actively working its magic. Meanwhile, on the target computer, users may observe the script running as intended, achieving the desired outcomes.
 Special Thanks to Our Sponsor: PCBWay
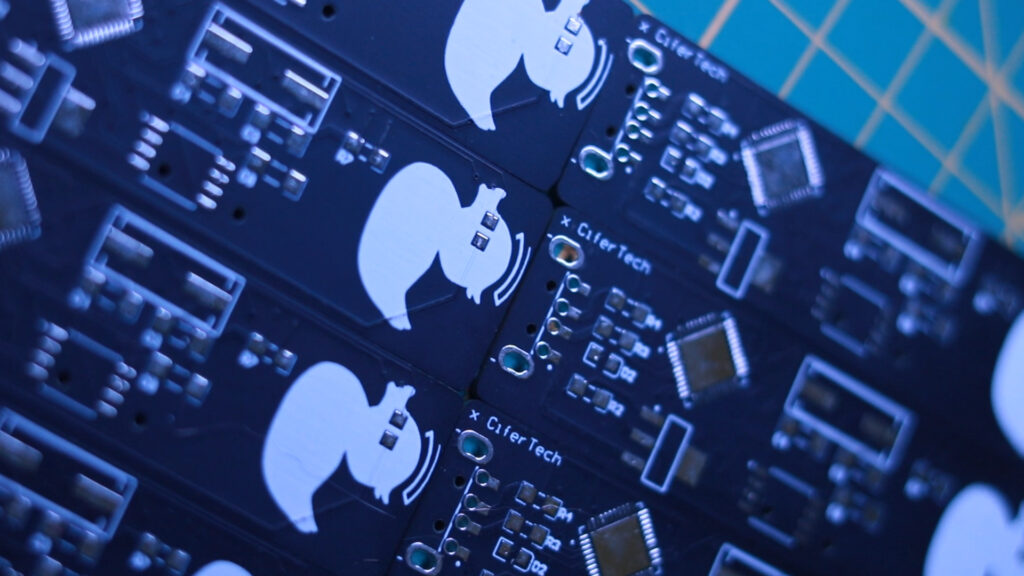
No project is complete without the right tools and materials. That’s where our sponsor, PCBWay, stepped in to provide essential support for this project. PCBWay is a leading provider of high-quality printed circuit boards (PCBs) and PCB assembly services.
Website: PCBWay Official Website
⚠ Future Changes
this project is far from over! In my next update, I’ll dive into creating my firmware for EvilDuck and maybe even show off a new design. Stay tuned for more adventures with EvilDuck!
