

Hi everyone, welcome back — I’m Cifer.
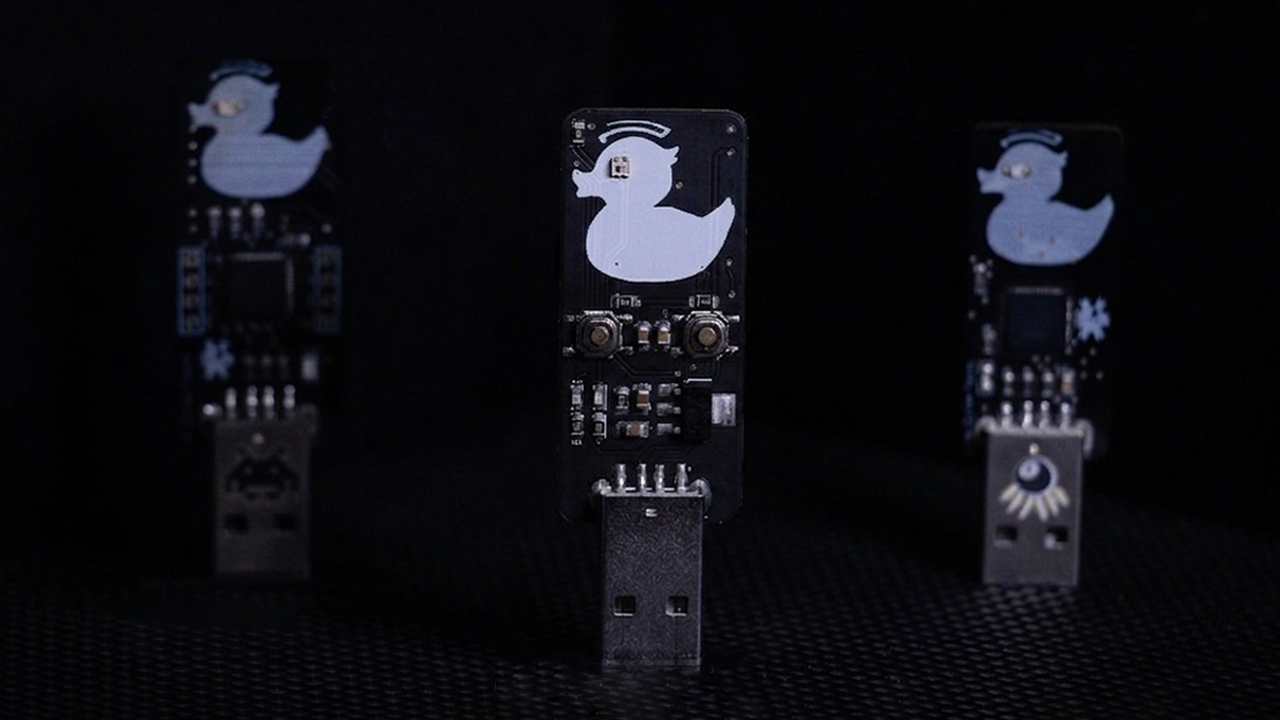
I’m back with EvilDuck S3 — the third and final hardware revision of my open-source USB rubber ducky project.
EvilDuck started as a simple experiment. A custom PCB around an ATmega32U4, an SD card slot, and a script that made a computer think a USB drive was a keyboard. It worked — but it was limited. No WiFi, no remote control, no web interface. Just plug in and hope the script runs correctly.
The second version added a web server. Still not quite right. So I started over.
This time, I had one goal: build one device that does everything, without getting bigger.
🦆 The Inspiration
Before I get into the hardware — credit where it’s due.
EvilDuck is inspired by WiFiDuck by Spacehuhn, which combines an ESP8266 for WiFi with an ATmega32U4 for USB HID. It’s a brilliant design. EvilDuck is my own take on that idea, and with each version, I’ve been pushing it further.
🔩 The Chip Decision
The old design used two chips — an ATmega32U4 for USB HID and an ESP8266 for WiFi. Two chips, two jobs, two points of failure.
The answer was the ESP32-S3.
It handles both USB HID and WiFi natively on a single chip. No second microcontroller. No inter-chip communication. Just one compact package that does it all — and frees up enough room on the PCB to add an SD card slot and a few extra components on top.
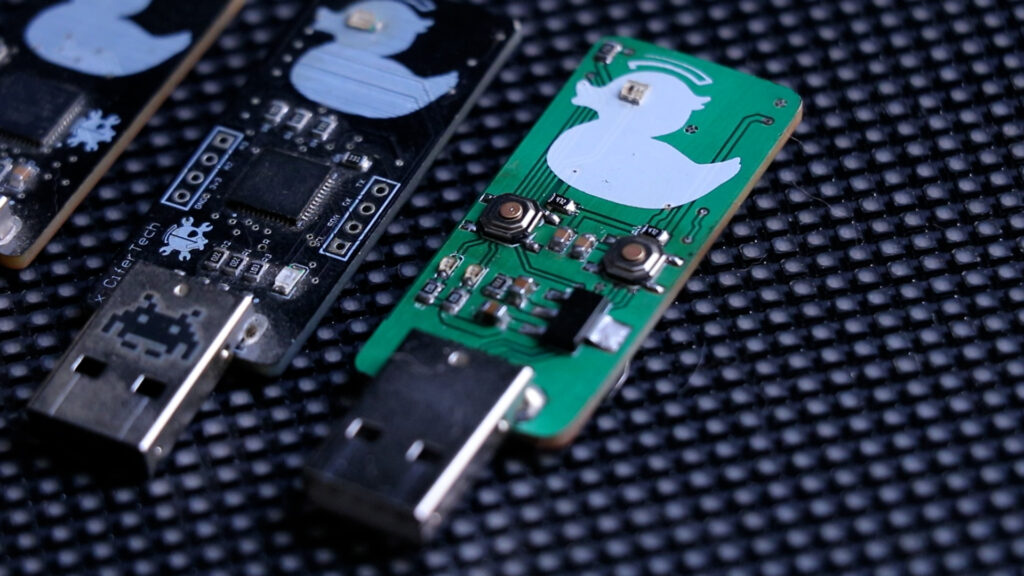
🔌 PCB Walkthrough
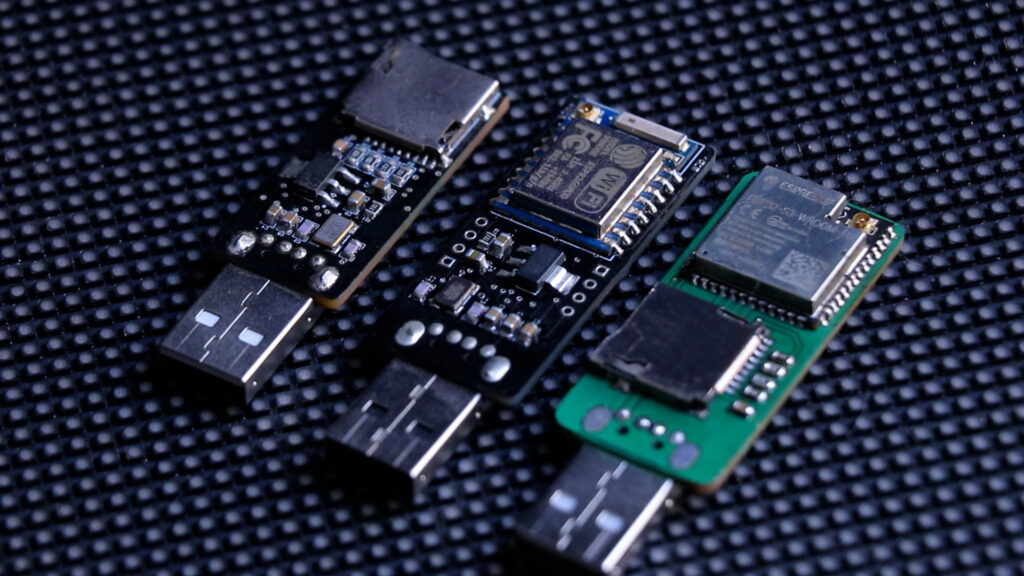
Back of the board:
- ESP32-S3
- MicroSD card slot — same reliable style I’ve used before
One thing worth mentioning: I forgot to connect the SD card detect pin. That pin tells the firmware whether a card is actually inserted. I worked around it with a small wire for now, and the corrected version is already pushed to GitHub — so you won’t hit the same issue.
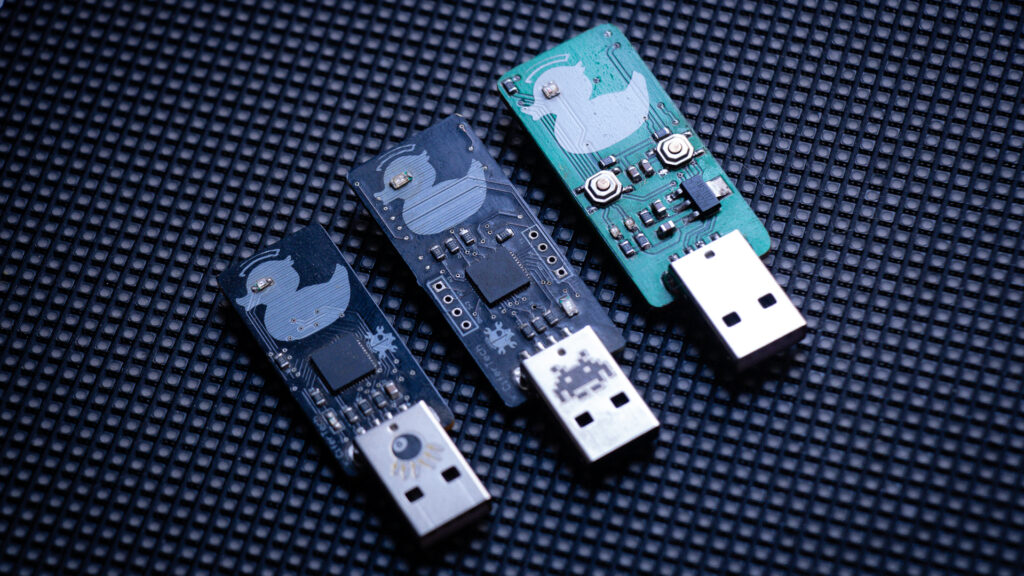
Front of the board:
- WS2812 RGB LED (2020 package) — fully addressable, any color in software. Every EvilDuck has a little eye. This time it actually does something
- LM1117 voltage regulator — steps 5V from USB down to 3.3V for the ESP32
- Two indicator LEDs on RX and TX — blink during communication, quick visual status check
- USB Type-A connector — data pins go directly to the ESP32, so you can program and communicate straight through USB\
🧠 Firmware
When you plug EvilDuck S3 into a computer, the ESP32’s USB interface comes up as a standard HID keyboard. No drivers. The computer just sees a keyboard — because as far as it’s concerned, that’s exactly what this is.
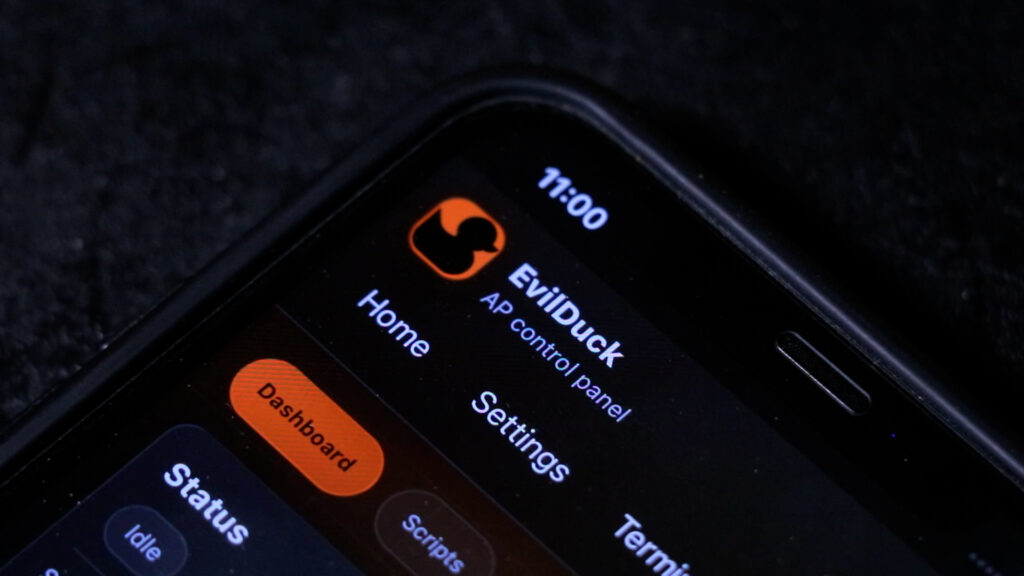
At the same time, the firmware starts a WiFi access point. Connect from your phone, laptop, or tablet, and you get a full browser-based control panel. Upload scripts, view stored files, delete payloads, or trigger execution remotely — all without touching the target machine.
Scripts are stored in internal flash using SPIFFS, so everything persists across reboots.
At the heart of it all is the DuckScript interpreter. It reads your script line by line, converts commands into USB HID signals, and sends them through the keyboard interface. The connected computer sees keystrokes appearing in real time — exactly like someone sitting at the keyboard.
There’s also an autorun feature: plug the device in, and a chosen script starts automatically. No manual trigger required.
The firmware is split into clean, separate modules — web server, script parser, file storage, settings, and USB communication. Easy to maintain, easy to build on.
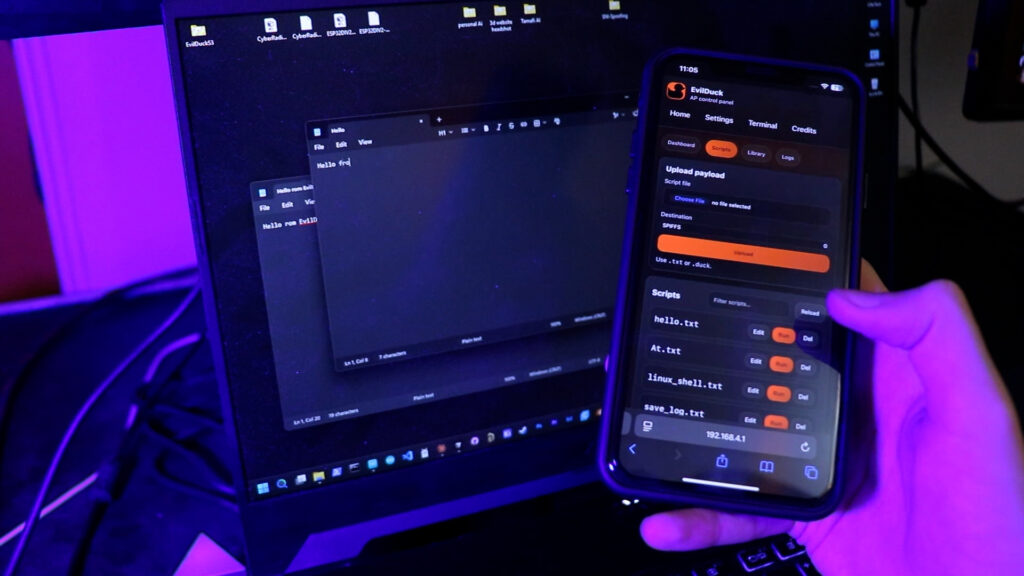
🌐 Web Interface
Accessible over WiFi once the device is powered:
- • Upload, edit, save, and delete scripts
- • Trigger payloads remotely
- • Live execution status — current script name and line number
- • Execution log with warnings and errors
- • Stop a running script mid-execution
- • Send individual commands for quick testing
- • Built-in script library (Windows, Linux, macOS, demos, advanced)
- • Password-protected with optional hidden SSID
- • Configurable network name, password, and channel
💾 Storage & Device Modes
Scripts live in internal SPIFFS flash by default. The SD card adds expanded storage, with file transfer between internal and SD supported directly from the web interface. There’s also a USB mass storage mode — plug it in, drag and drop files, done.
🧡 Sponsored by NextPCB
Big thanks to NextPCB for supporting this project! If you’re building your own EvilDuck or any PCB project, I highly recommend NextPCB for fast, reliable, and affordable manufacturing.
🛠️ Get your boards made here → www.nextpcb.com
💻 Code & PCB
Everything is open source. Code, schematic, and firmware are all on GitHub.
GitHub repository: github.com/cifertech/EvilDuck
🚀 Final Thoughts
EvilDuck S3 is the version I should have built the first time. One chip, one board, full control — WiFi, web interface, SD card, autorun, and a DuckScript interpreter that actually works cleanly.
The hardware is done. The firmware will keep evolving.
If you want to see how the payloads work, or how to set up the web interface, let me know in the comments — I’ll cover that in a follow-up.