

What’s up, guys? I’m Cifer, and welcome back to another blog post! Today, I’m excited to share my latest project with you: Daeva. Daeva is a versatile device designed to scan, copy, and replay signals in the 315, 433, 868, and 915 MHz frequency ranges. In this post, I’ll take you through the process of building Daeva, and showcase its capabilities, including RF scanning and replay attacks.
 About the Project
Daeva is a cybersecurity tool with many applications, from security testing to signal analysis. The device is built around the powerful ESP32 microcontroller and incorporates several advanced features to enhance its functionality and ease of use.
 Features & Components
• Microcontroller: I chose the ESP32 microcontroller for Daeva’s core, specifically the Wroom 32u variant. Unlike previous projects where I used standard ESP32 modules, the Wroom 32u’s compact design offers more space for PCB design. This allows for a more efficient and organized layout.
• Data Storage: I integrated a micro SD card slot to facilitate future updates and data storage. This enables Daeva to store necessary data efficiently, making it adaptable for future enhancements.
• Display: For the display, I used an OLED screen. This time, I opted for the flat cable version and embedded it into the design. This choice saves space and provides a cleaner, more integrated look compared to using a traditional module.
• Communication: To manage serial monitoring and code uploads, I incorporated a CP2102 chip, a reliable component that I’ve used successfully in my other projects.
• Power Management: Ensuring stable power is crucial for Daeva’s performance. I used an LF33 regulator to convert the 5V input to the necessary 3.3V for the ESP32 and other components. Additionally, to provide charging capability for the lithium battery, I included a TP4056 charger module, a staple in many of my projects.
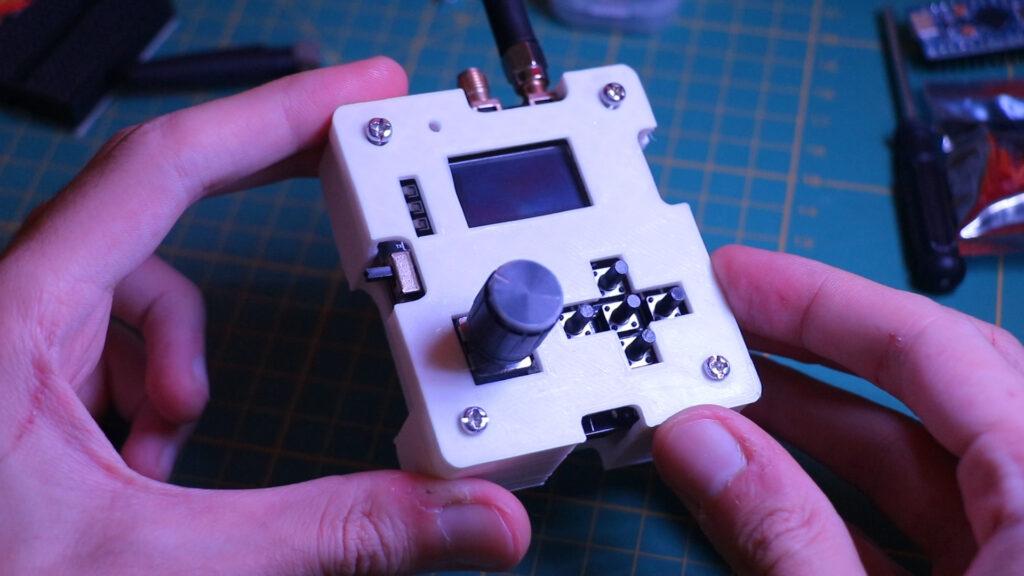
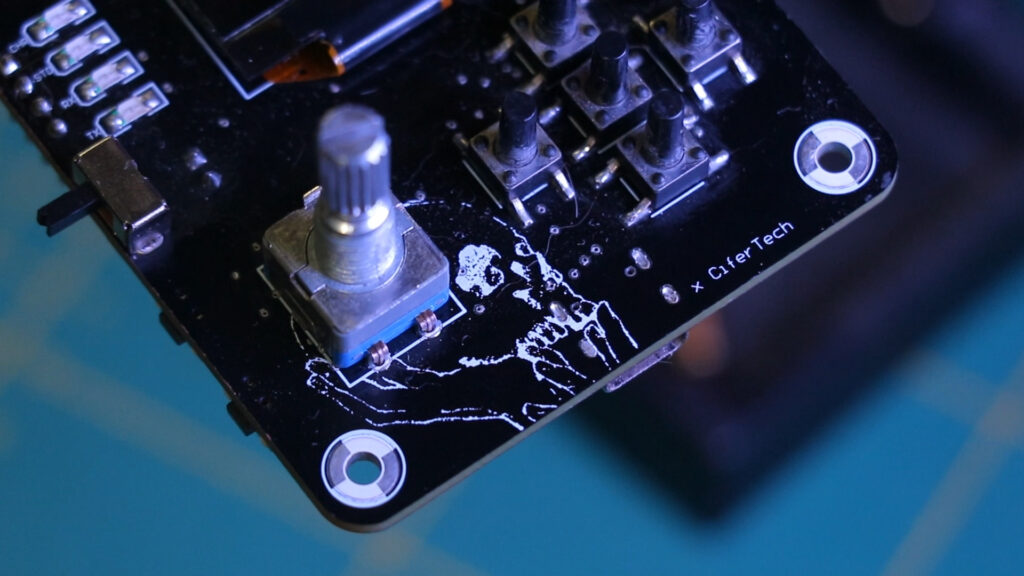
• User Interface: For menu navigation, Daeva utilizes five SMD microswitches and a rotary encoder. These components make it easy to interact with the device’s menu system.
• Main Component: The heart of Daeva’s functionality is the CC1101 transceiver. This low-cost sub-1 GHz transceiver is ideal for low-power wireless applications and is central to Daeva’s capabilities. It allows the device to scan, copy, and replay signals efficiently.
 Usage
Usage
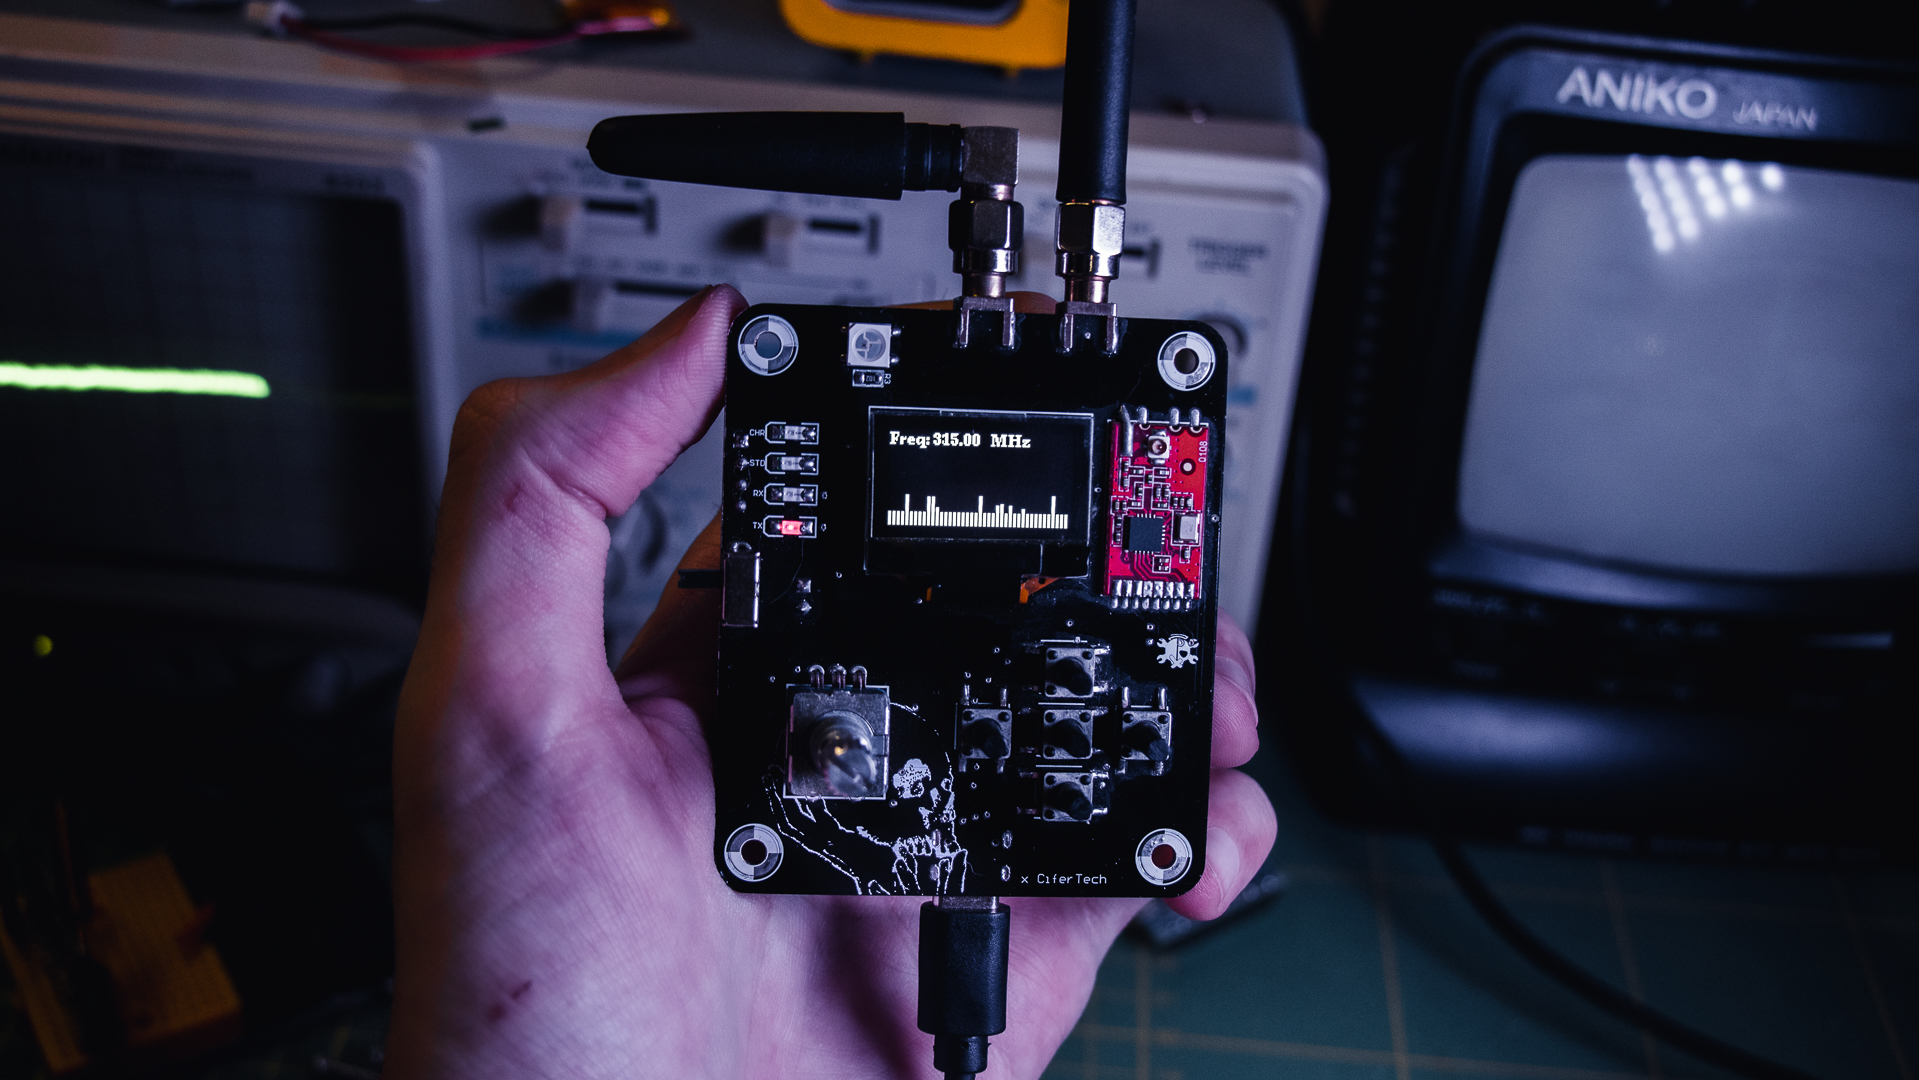
- • RF Scanning
One of Daeva’s primary features is its ability to scan RF signals and display their frequencies. This function is incredibly useful for various applications, such as security testing and signal analysis. When Daeva scans for RF signals, it detects the frequencies in the environment and displays them on the OLED screen. The device offers two types of graphical representations, allowing users to choose between a detailed frequency spectrum or a simpler graph. This flexibility ensures that users can select the display format that best suits their needs.
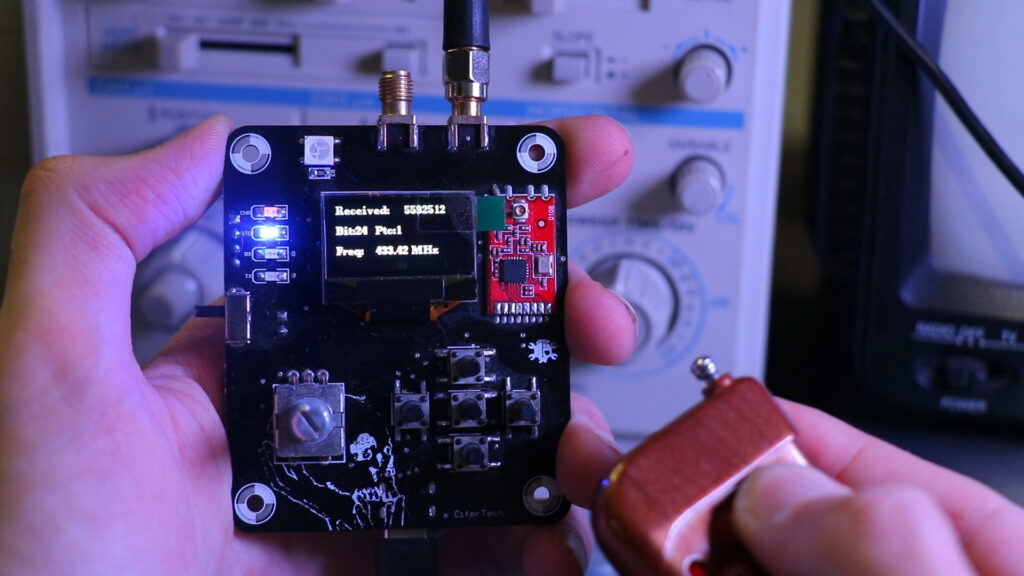
- • Replay Attack
The second major feature of Daeva is the Replay Attack capability. This function is particularly powerful for testing the security of wireless systems, such as garage doors, car key fobs, and other remote-controlled devices. Daeva can capture a radio frequency signal and store it for later use. When the replay attack is initiated, Daeva retransmits the captured signal, effectively replicating the original action triggered by that signal. This capability is essential for understanding potential vulnerabilities in wireless systems and developing more secure designs.
 Schematic
In building the Daeva, a detailed schematic was crucial to ensure all components functioned harmoniously. Here’s a breakdown of the key connections.
- • ESP32 / CC1101 Connection
| CC1101 Pin | ESP32 Pin |
|---|---|
| CSN | IO5 |
| SCK | IO18 |
| MOSI | IO23 |
| GDO0 | IO2 |
| GDO1 | IO19 |
| GDO2 | IO4 |
| Vcc | 3.3V |
| GND | GND |
- • ESP32 / Rotary Encoder Connection
| Rotary Encoder Pin | ESP32 Pin |
|---|---|
| SW | IO25 |
| DT | IO15 |
| CLK | IO12 |
- • ESP32 Navigation Buttons Connection
| Button | ESP32 Pin |
|---|---|
| Button1 | IO25 |
| Button2 | IO27 |
| Button3 | IO17 |
| Button4 | IO12 |
| Button5 | IO15 |
![]()
Code & PCB
If you’re interested in building this project, the code and schematic are available on GitHub. Simply visit the GitHub repository to download the necessary files. If the project gains attention, I’ll open-source the PCB files as well. Feel free to test the code and share your feedback or improvements.
GitHub repository: github.com/cifertech/Daeva
 Special Thanks to Our Sponsor: JLCPCB
No project is complete without the right tools and materials. That’s where our sponsor, JLCPCB, stepped in to provide essential support for this project. JLCPCBis a leading provider of high-quality printed circuit boards (PCBs) and PCB assembly services.
Simply head over to jlcpcb.com, upload your PCB design files, select your preferences, and Your custom PCBs are on their way to you in no time.
Get $20 OFF and try JLCPCB via-in-pad for free: JLCPCB Official Website
 Future Updates
I have several ideas for future updates to enhance Daeva’s functionality further. Some planned enhancements include improving the user interface, adding more frequency bands, and optimizing power management. If you’re interested in contributing to the project, feel free to commit your codes and ideas to Daeva’s GitHub repository. Together, we can continue to improve and expand this exciting project.
 Conclusion
Daeva represents a significant step forward in my journey of creating innovative cybersecurity tools. Its ability to scan, copy, and replay RF signals opens up numerous possibilities for security testing and signal analysis. Stay tuned for more updates, and don’t forget to like, comment, and subscribe to my channel for the latest on my projects.