Welcome to another exciting project build on CiferTech! I’m Cifer, your guide through this journey of creating a versatile and customizable macro-pad, aptly named “MicroClick” (or “MacroClick”—still deciding, so let me know your favorite in the comments!). This project is all about enhancing productivity through a compact, programmable keyboard that can be customized to suit your specific needs. Whether you’re a gamer, a streamer, or just someone who loves efficient workflows, this macro-pad has something for everyone.
🌟 About the Project
A macro-pad is essentially a smaller, specialized keyboard with extra programmable keys. These devices are fantastic for assigning shortcuts and macros, making it easier to perform repetitive tasks quickly. The “MicroClick” is open-source, and you can find all the necessary files, including the PCB designs and code, on my GitHub or website. Let’s dive into the details of this project, from the initial concept to the final product.
🎯 Features & Components
The “MicroClick” macro-pad is designed with versatility and functionality in mind. Here’s a breakdown of the key features and components that make this device a must-have:
Microcontroller: ATmega32U4
The heart of the macro-pad is the ATmega32U4 microcontroller. This choice was driven by the microcontroller’s HID (Human Interface Device) capabilities, which are crucial for creating custom keyboards and input devices. The ATmega32U4 allows the macro-pad to communicate with computers and send keyboard inputs directly, making it a perfect fit for this project.
LEDs: WS2812B NeoPixel
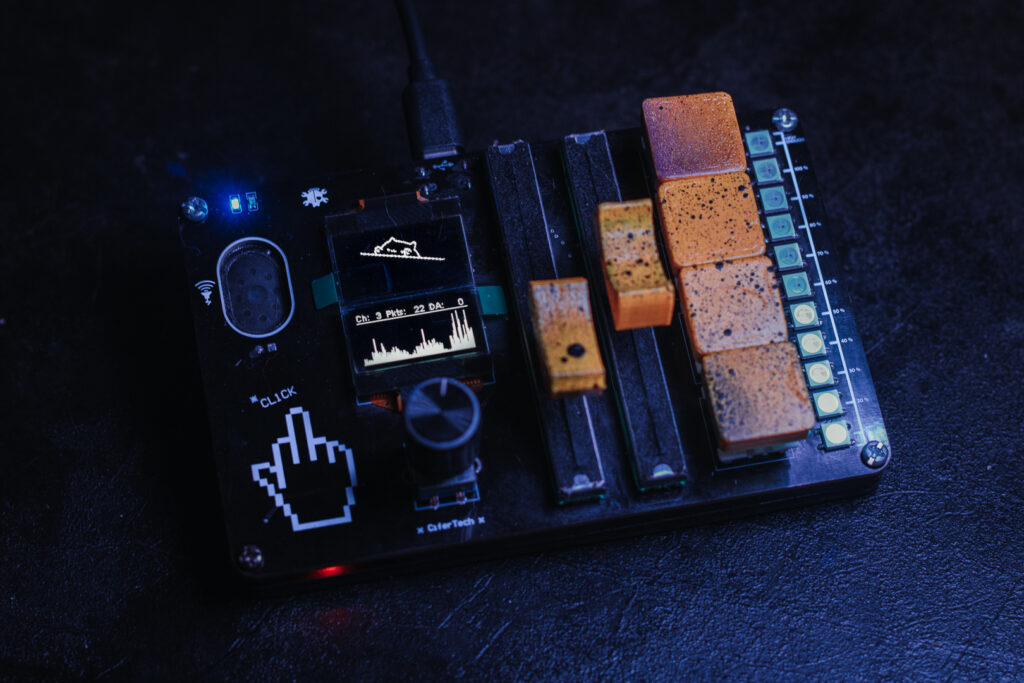
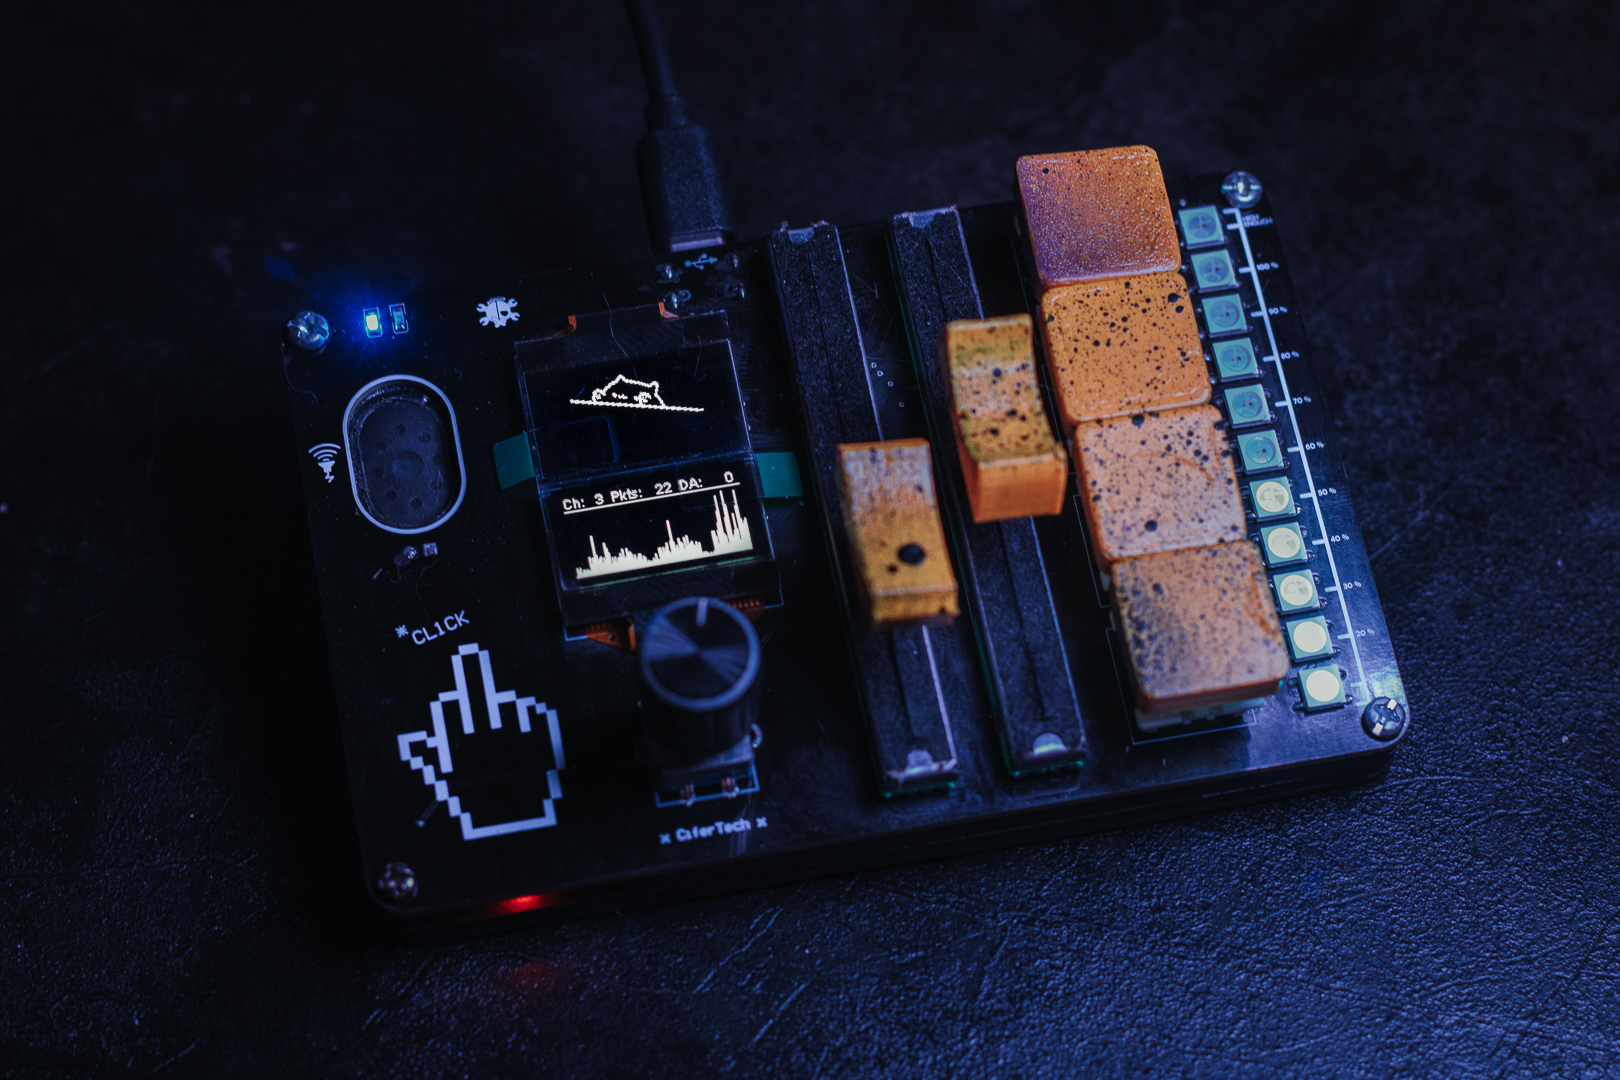
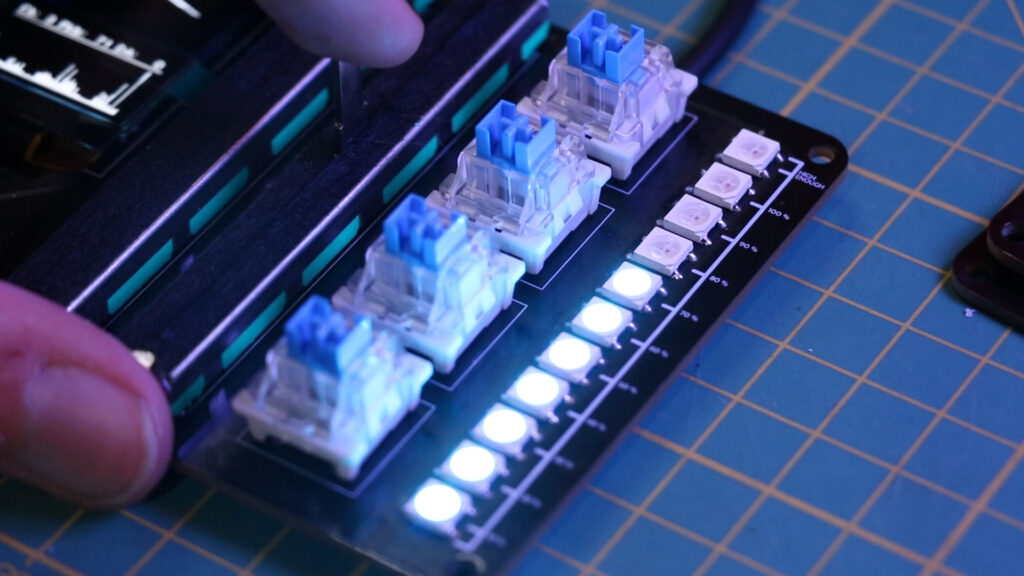
For visual feedback, I’ve included WS2812B addressable NeoPixel LEDs. These LEDs are not only bright and colorful but also incredibly versatile. In the “MacroClick,” they are primarily used to indicate volume levels and other statuses. The LEDs are fully programmable, allowing you to customize their behavior to suit your needs.
Switches: Mechanical Keyboard Switches
The “MacroClick” features mechanical keyboard switches, specifically the blue variant. Mechanical switches are known for their durability and tactile feedback, making them ideal for frequent use. The blue switches, in particular, provide a satisfying clicky sound, which can enhance the user experience. However, the choice of switch type is entirely up to you; other types like tactile or linear switches can also be used based on personal preference.
Volume Control: Dual Linear Potentiometers
To provide precise control over system volume, I’ve included two linear potentiometers. These are commonly seen in audio mixers and provide smooth, precise adjustments. The potentiometers are also integrated with the NeoPixel LEDs, offering a visual representation of the current volume level.
Display: SSD1306 OLED
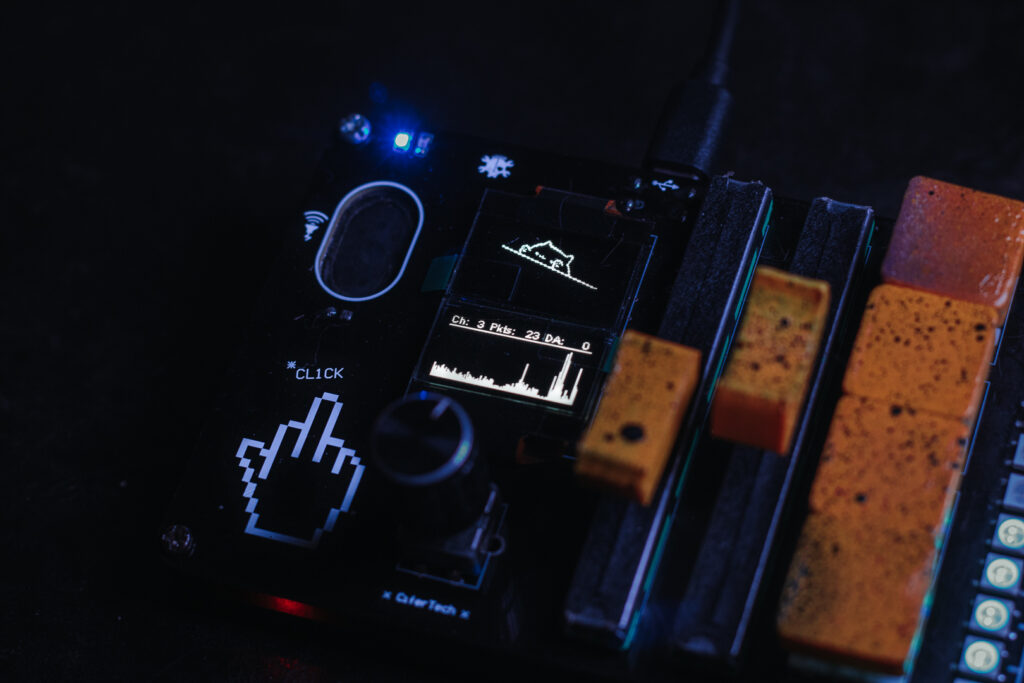
An SSD1306 OLED display adds a visual element to the macro-pad, allowing for the display of information, animations, and more. For this project, I opted for a flat cable connection rather than the typical OLED module to keep the design sleek and clean. The OLED can display various animations and information, making the macro-pad not just functional but also visually engaging.
Extras: ESP8266-07
The inclusion of an ESP8266-07 module opens up future possibilities for the “MacroClick.” This Wi-Fi-enabled microcontroller can be used for various enhancements, such as wireless control or additional data displays. In the current build, it serves as a packet monitor, but I have plans to expand its functionality in future updates.
Rotary Encoder
A rotary encoder is included for additional control options. This component can be used for navigating menus, adjusting settings, or any other rotary input needs. Its inclusion adds another layer of versatility to the macro-pad, making it even more customizable.
👀 Usage
The “MicroClick” is designed to be a versatile tool for various applications. Here are some ways you can use this macro-pad:
1. Productivity: Assign shortcuts for commonly used applications or functions. For example, you can set up keys for copy, paste, undo, and redo, making your workflow smoother and more efficient.
2. Gaming: Customize the macro-pad with game-specific commands. Whether you need quick access to inventory items, spells, or communication functions, the “MacroClick” can handle it all.
3. Streaming: If you’re a content creator or streamer, this device can be a lifesaver. Assign keys for switching scenes, muting audio, or triggering sound effects.
4. Creative Work: Artists and designers can use the macro-pad for tools and shortcuts in software like Photoshop, Illustrator, or Blender.
The possibilities are endless, and the best part is that the “MicroClick” is fully customizable. You can program each key and control to fit your specific needs, making it a highly personalized piece of tech.
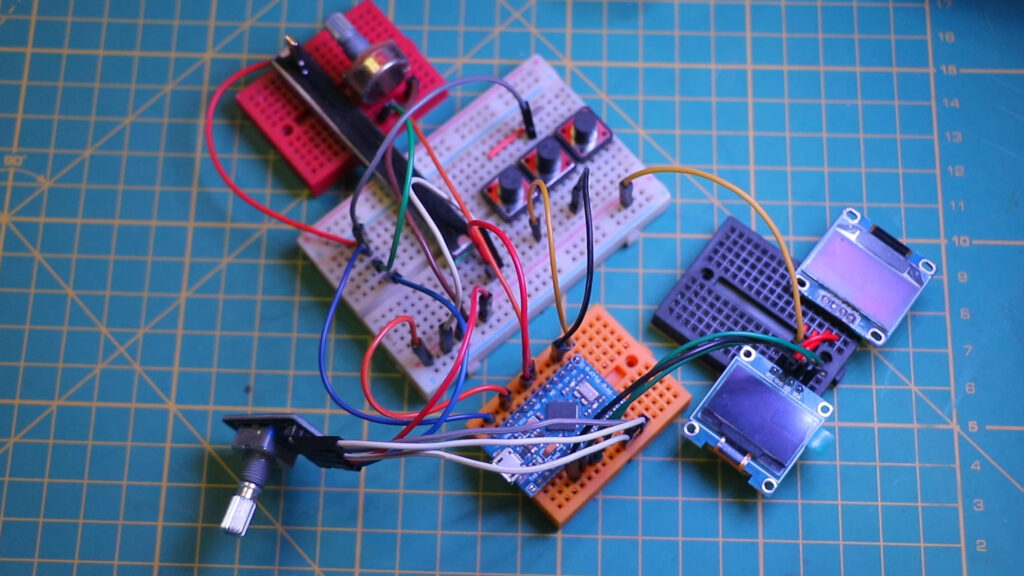
🔌 Schematic
Creating the PCB for the “MicroClick” was a meticulous process that involved careful planning and design. Using Altium Designer, I laid out the components in a way that optimizes space while maintaining functionality. The schematic includes all necessary connections for the ATmega32U4, OLED display, NeoPixel LEDs, mechanical switches, potentiometers, and the ESP8266 module.
• Potentiometers
| Potentiometer | ATmega32U4 Pin |
|---|---|
| Potentiometer 1 | ADC6 (PF6) |
| Potentiometer 2 | ADC7 (PF7) |
• Switches
| Switch | ATmega32U4 Pin |
|---|---|
| Switch 1 | PF1 |
| Switch 2 | PF2 |
| Switch 3 | PF4 |
| Switch 4 | PF5 |
• OLED Screen
| OLED Pin | ATmega32U4 Pin |
|---|---|
| SDA | PD1 |
| SCL | PD0 |
• Rotary Encoder
| Rotary Encoder Pin | ATmega32U4 Pin |
|---|---|
| Output A | PB4 |
| Output B | PB5 |
| Switch | PB6 |
The PCB layout is crucial for ensuring that all components work seamlessly together. Proper routing of power and signal lines minimizes interference and ensures reliable operation. If you’re planning to build your own “MicroClick,” you can find the full schematic and PCB files on my GitHub.
![]()
Code & PCB
If you’re interested in building this project, the code and schematic are available on GitHub. Simply visit the GitHub repository to download the necessary files. Feel free to test the code and share your feedback or improvements.
GitHub repository: github.com/cifertech/micro-CL1CK
 Special Thanks to Our Sponsor: JLCPCB
No project is complete without the right tools and materials. That’s where our sponsor, JLCPCB, stepped in to provide essential support for this project. JLCPCB is a leading provider of high-quality printed circuit boards (PCBs) and PCB assembly services.
Simply head over to jlcpcb.com, upload your PCB design files, select your preferences, and Your custom PCBs are on their way to you in no time.
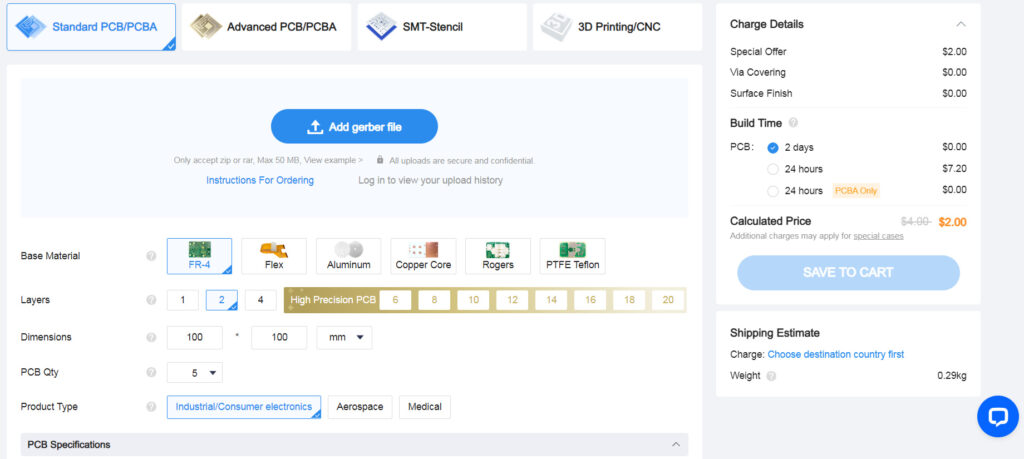
New users can take advantage of $60 in coupons, perfect for starting your next big project. Check out the JLCPCB website.
🧰 Future Updates
The “MicroClick” is a versatile platform with room for future enhancements. Some of the planned updates include:
- • Wi-Fi Capabilities: Using the ESP8266 for wireless control and communication.
- • Expanded OLED Functionality: Additional animations, information displays, and maybe even a mini-game or two.
- • Custom Keycaps: Designing and 3D-printing custom keycaps to match specific themes or functions.
- • Additional Controls: Incorporating more switches, rotary encoders, or even a touch interface.
I’m also considering integrating a battery pack to make the “MicroCl1ck” portable. This would allow for more flexible use cases, such as a wireless remote control or a portable macro-pad for on-the-go productivity.
🚀 Conclusion
The “MicroCl1ck” macro-pad is a powerful, customizable tool that can significantly enhance your workflow. Whether you’re looking for a productivity boost, a gaming accessory, or a creative companion, this project has something to offer. With its open-source nature, you can modify and expand it to fit your exact needs.
All the resources, including the PCB files and code, are available on my GitHub and website. If you’re inspired to build your own “MicroCl1ck,” I encourage you to dive in and start experimenting. Don’t forget to share your builds and ideas; I love seeing what the community comes up with!